Best WordPress Plugins

In this article I will show you the best WordPress plugins to use when creating niche authority sites. You’ll learn how to install and how to configure them.
Delete Built-In Plugins
In this section I’ll show you what plugins to get rid of. There are various plugins that come installed by default with WordPress but many of them are not needed
Deleting these plugins will help to speed up your site as the less plugins you have the quicker your site will respond and will load for your visitors.
Go to Plugins> Installed Plugins

If you have a plugin that is not one of the ones listed at the start of this article, then you should deactivate and delete it.
To delete plugins, you just need to click Deactivate (if the plugin is already activated) then click ‘Delete’. These options are shown under the plugin name as shown below.

A2 Optimised Plugins
If you are using my recommended host, A2Hosting and you followed my WordPress install guide, you should see the ‘A2 Optimised WP’ plugin and the ‘Easy Hide Login’ plugin. Keep both of these plugins and make sure they are both activated.
The A2 Optimised WP plugin includes a group of settings that keep your site working quickly and securely.
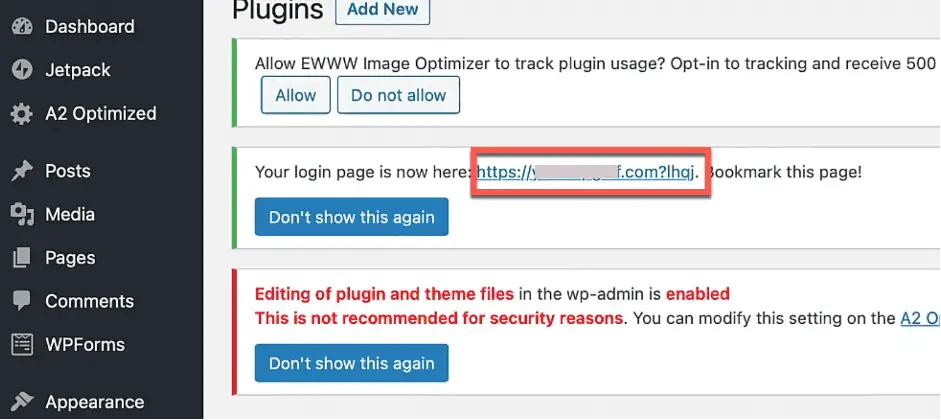
The ‘Easy Hide Login’ plugin will help to keep your site secure by disguising the normal admin login page. As you can see in the screenshot below my login page for this site is no longer set to /wp-admin.
A2 Optimised Settings
Now let’s take a look at the A2 Optimised settings.
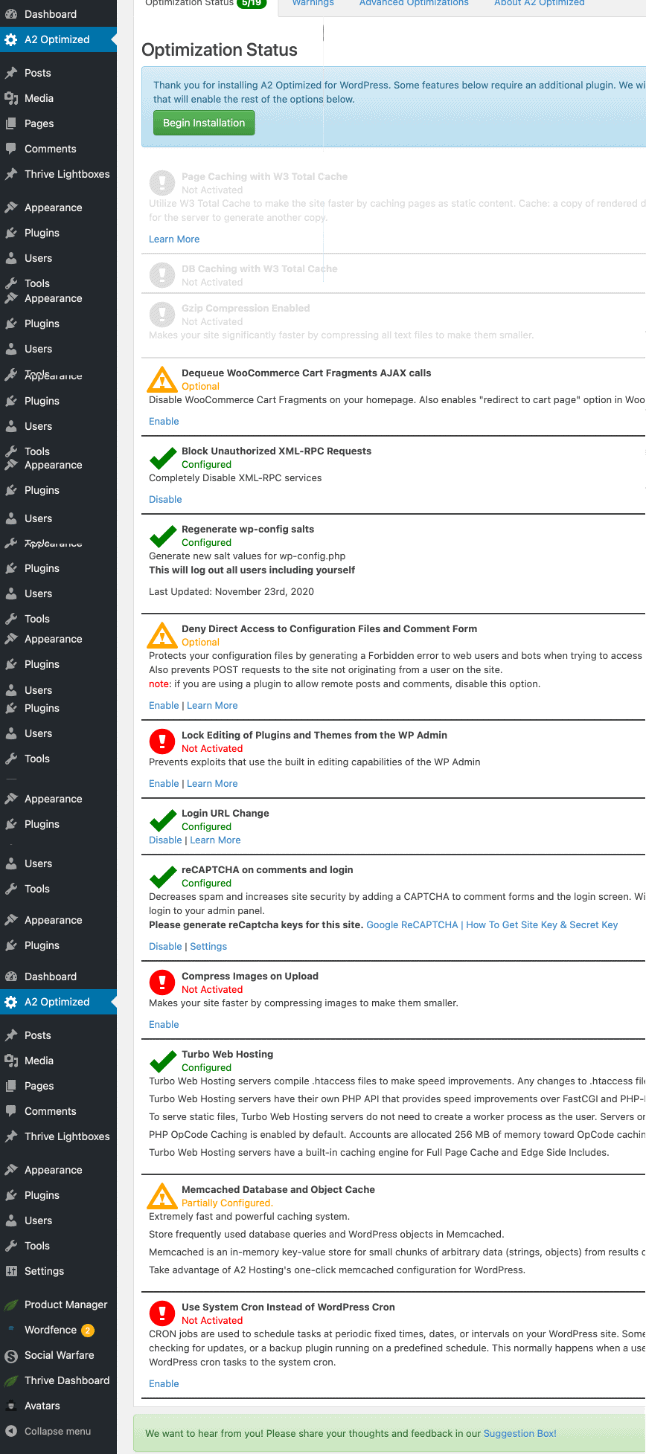
Go to the ‘A2 Optimised’ section from the left hand menu.
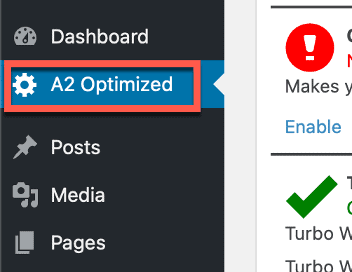
It will display a warning that your site is not optimised. This is because you deleted the W3 Cache plugin. Don’t worry about this as you will be setting up caching via the theme that you are going to install (caching helps to speed up your site by reducing the size of images and other parts of your site).Your A2 optimised settings should look similar to the screenshot below, enable any settings if yours does not match:
WordFence
The next thing to do is install a security plugin called WordFence. This is the one of the best WordPress plugins for keeping your site secure and should stop viruses and malware and all kinds of nasty things like that infecting your site!
This is free to install, but you can update to a paid version which gives you a few more features and it also updates the virus protection files a little more often.
Go to Plugins> Add New or click on the ‘Add New’ button at the top of the plugins page.

Type WordFence in the plugin search box, you should see something similar to the below screenshot. Click install and then activate.
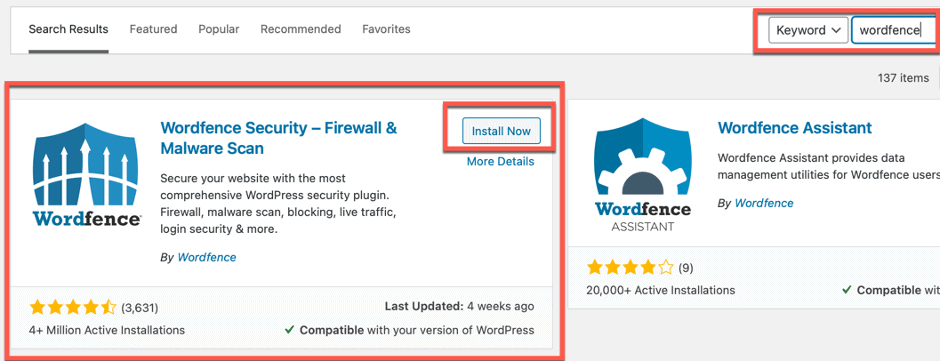
After activating, you’ll have to put in an email address for it to send you any warnings.
Yoast
Yoast is one of the best WordPress plugins to help you optimise your blog posts for SEO.
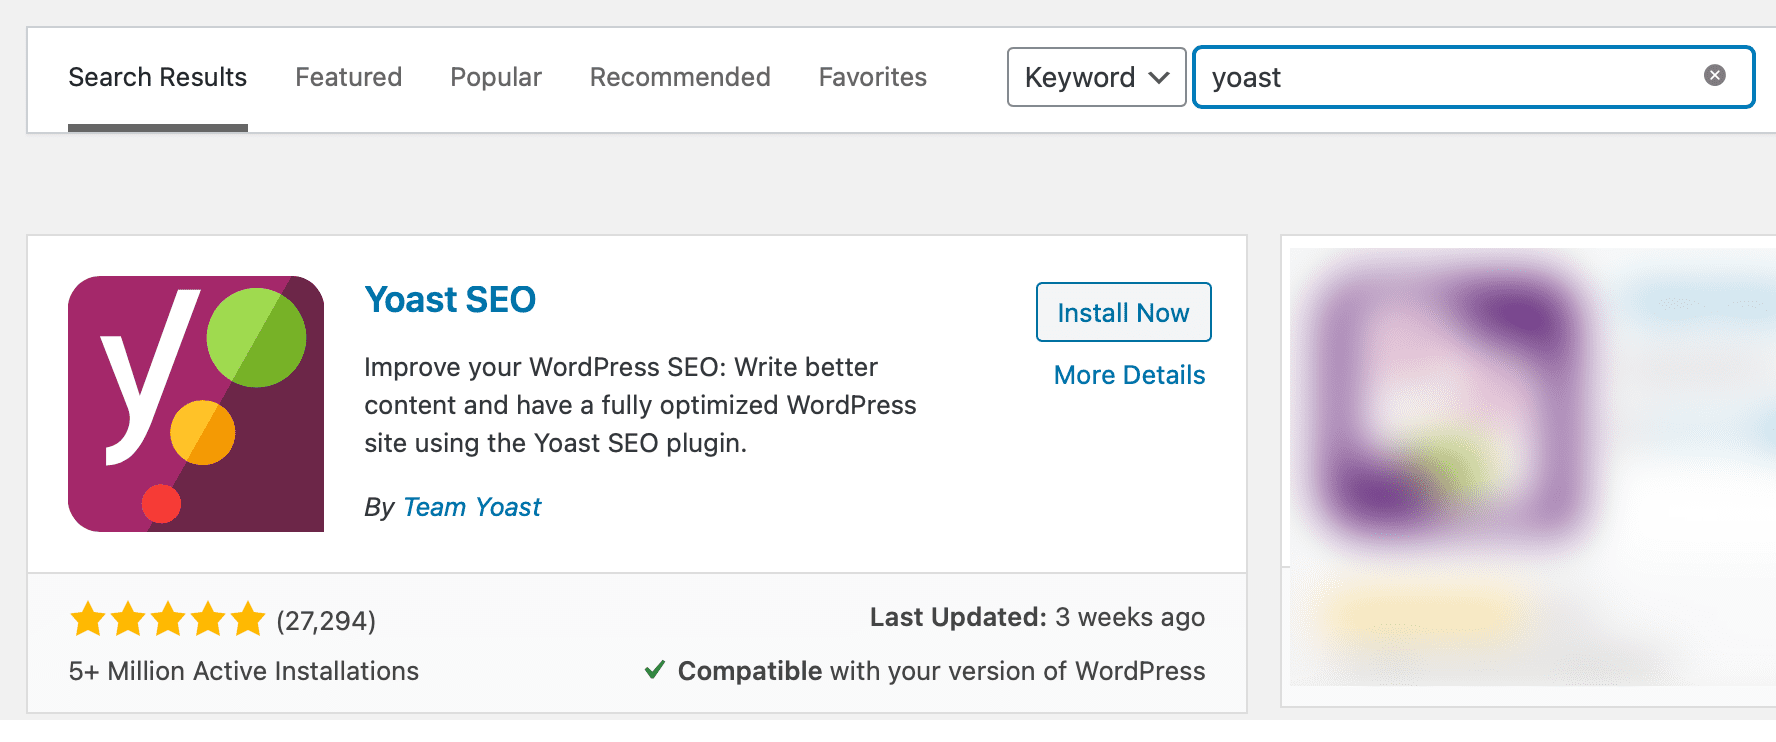
To install, go to plugins> add new and search for Yoast. You should see something similar to the image shown below. Click on the ‘Install Now’ button and then click Activate once it has installed.
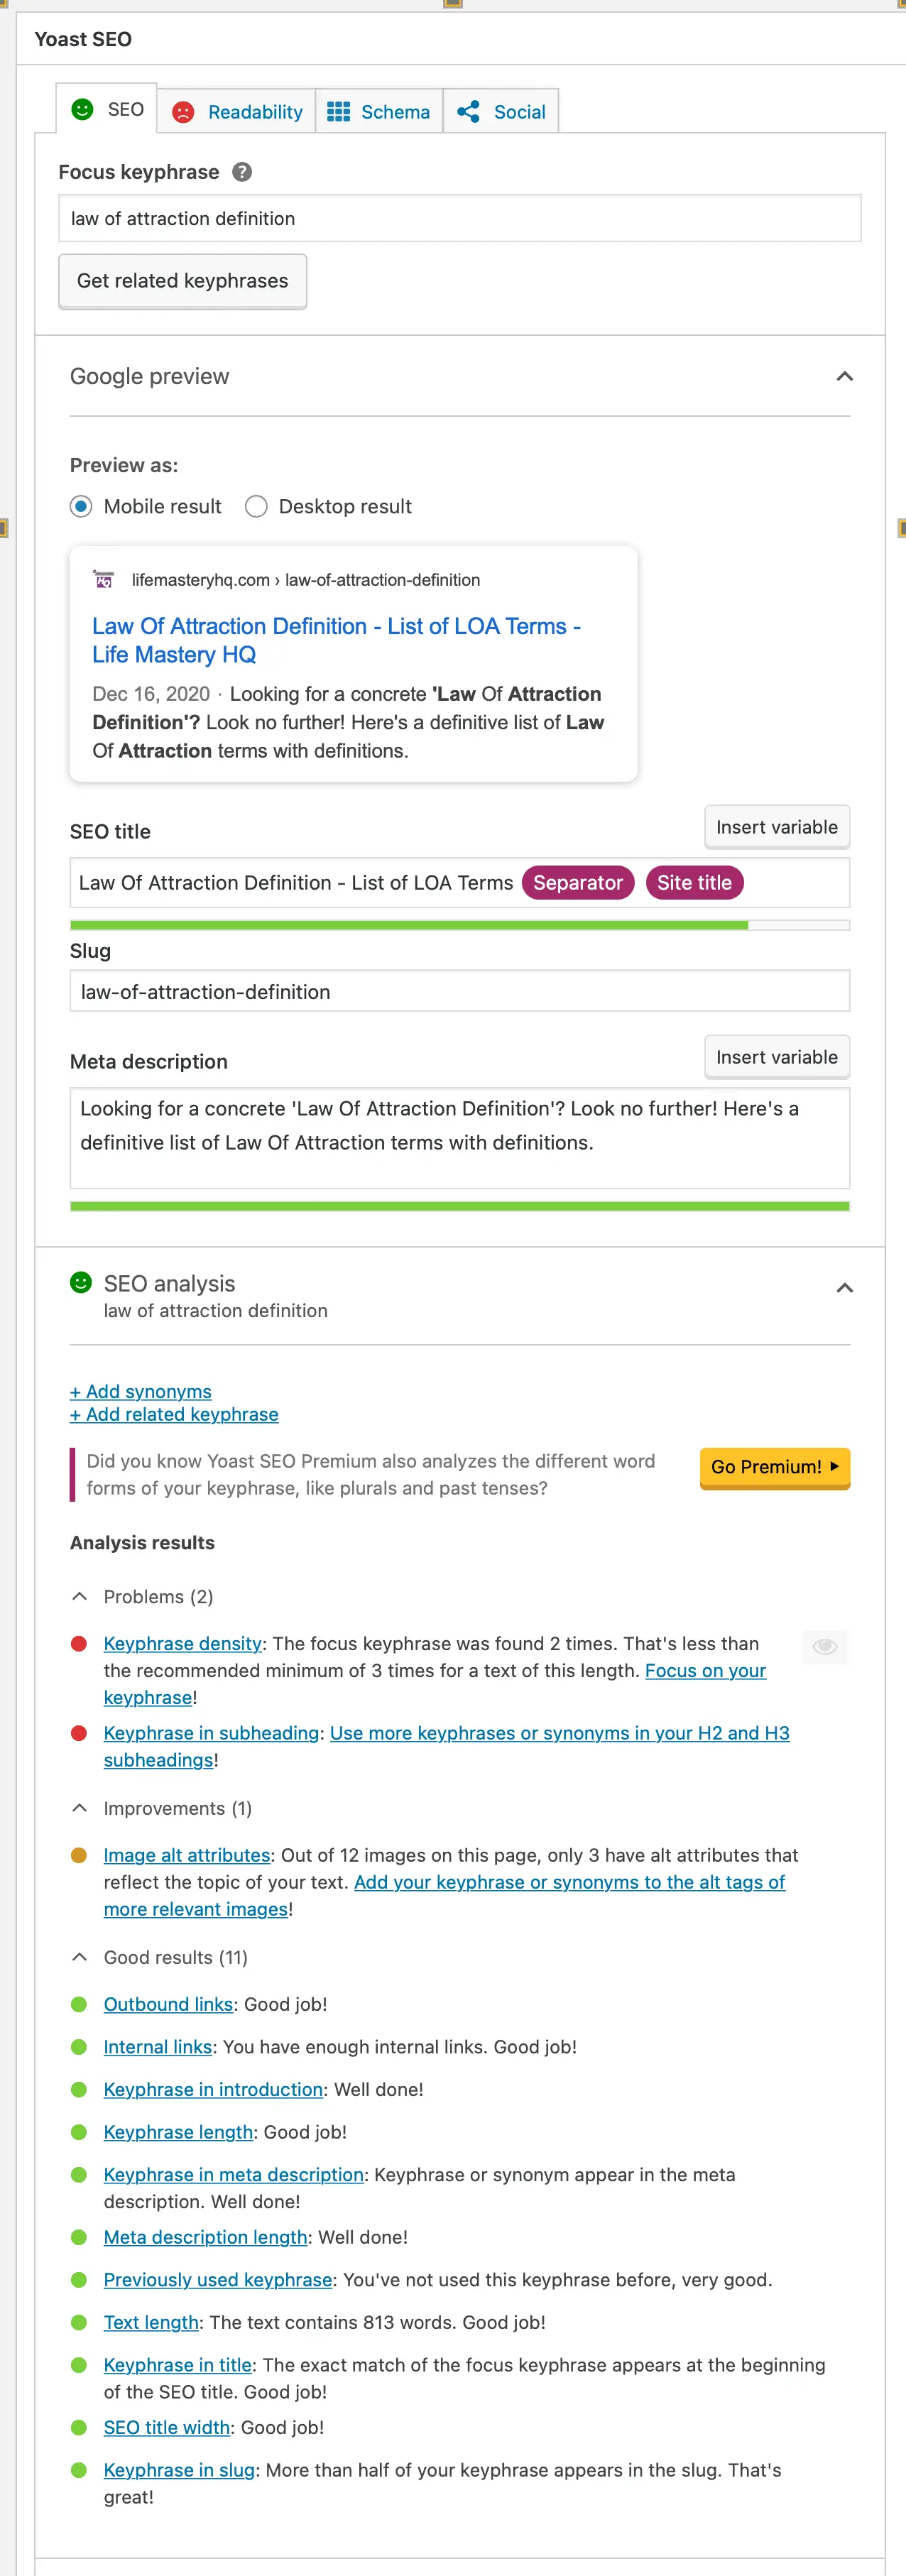
After installing Yoast, when you edit blog posts you will now see the added functionality shown in the screenshot below. To learn how to use it to help you format your blog post for SEO check out our guide here.
Social Warfare adds social share buttons to your blog posts.
This is one of the best WordPress plugins for social sharing I’ve found. The share buttons are automatically placed at the top and bottom of your posts, they are clear and make it really easy for visitors to share your posts.
It also makes it easy to see at a glance how many shares your posts are getting.
To install, go to plugins > add new.

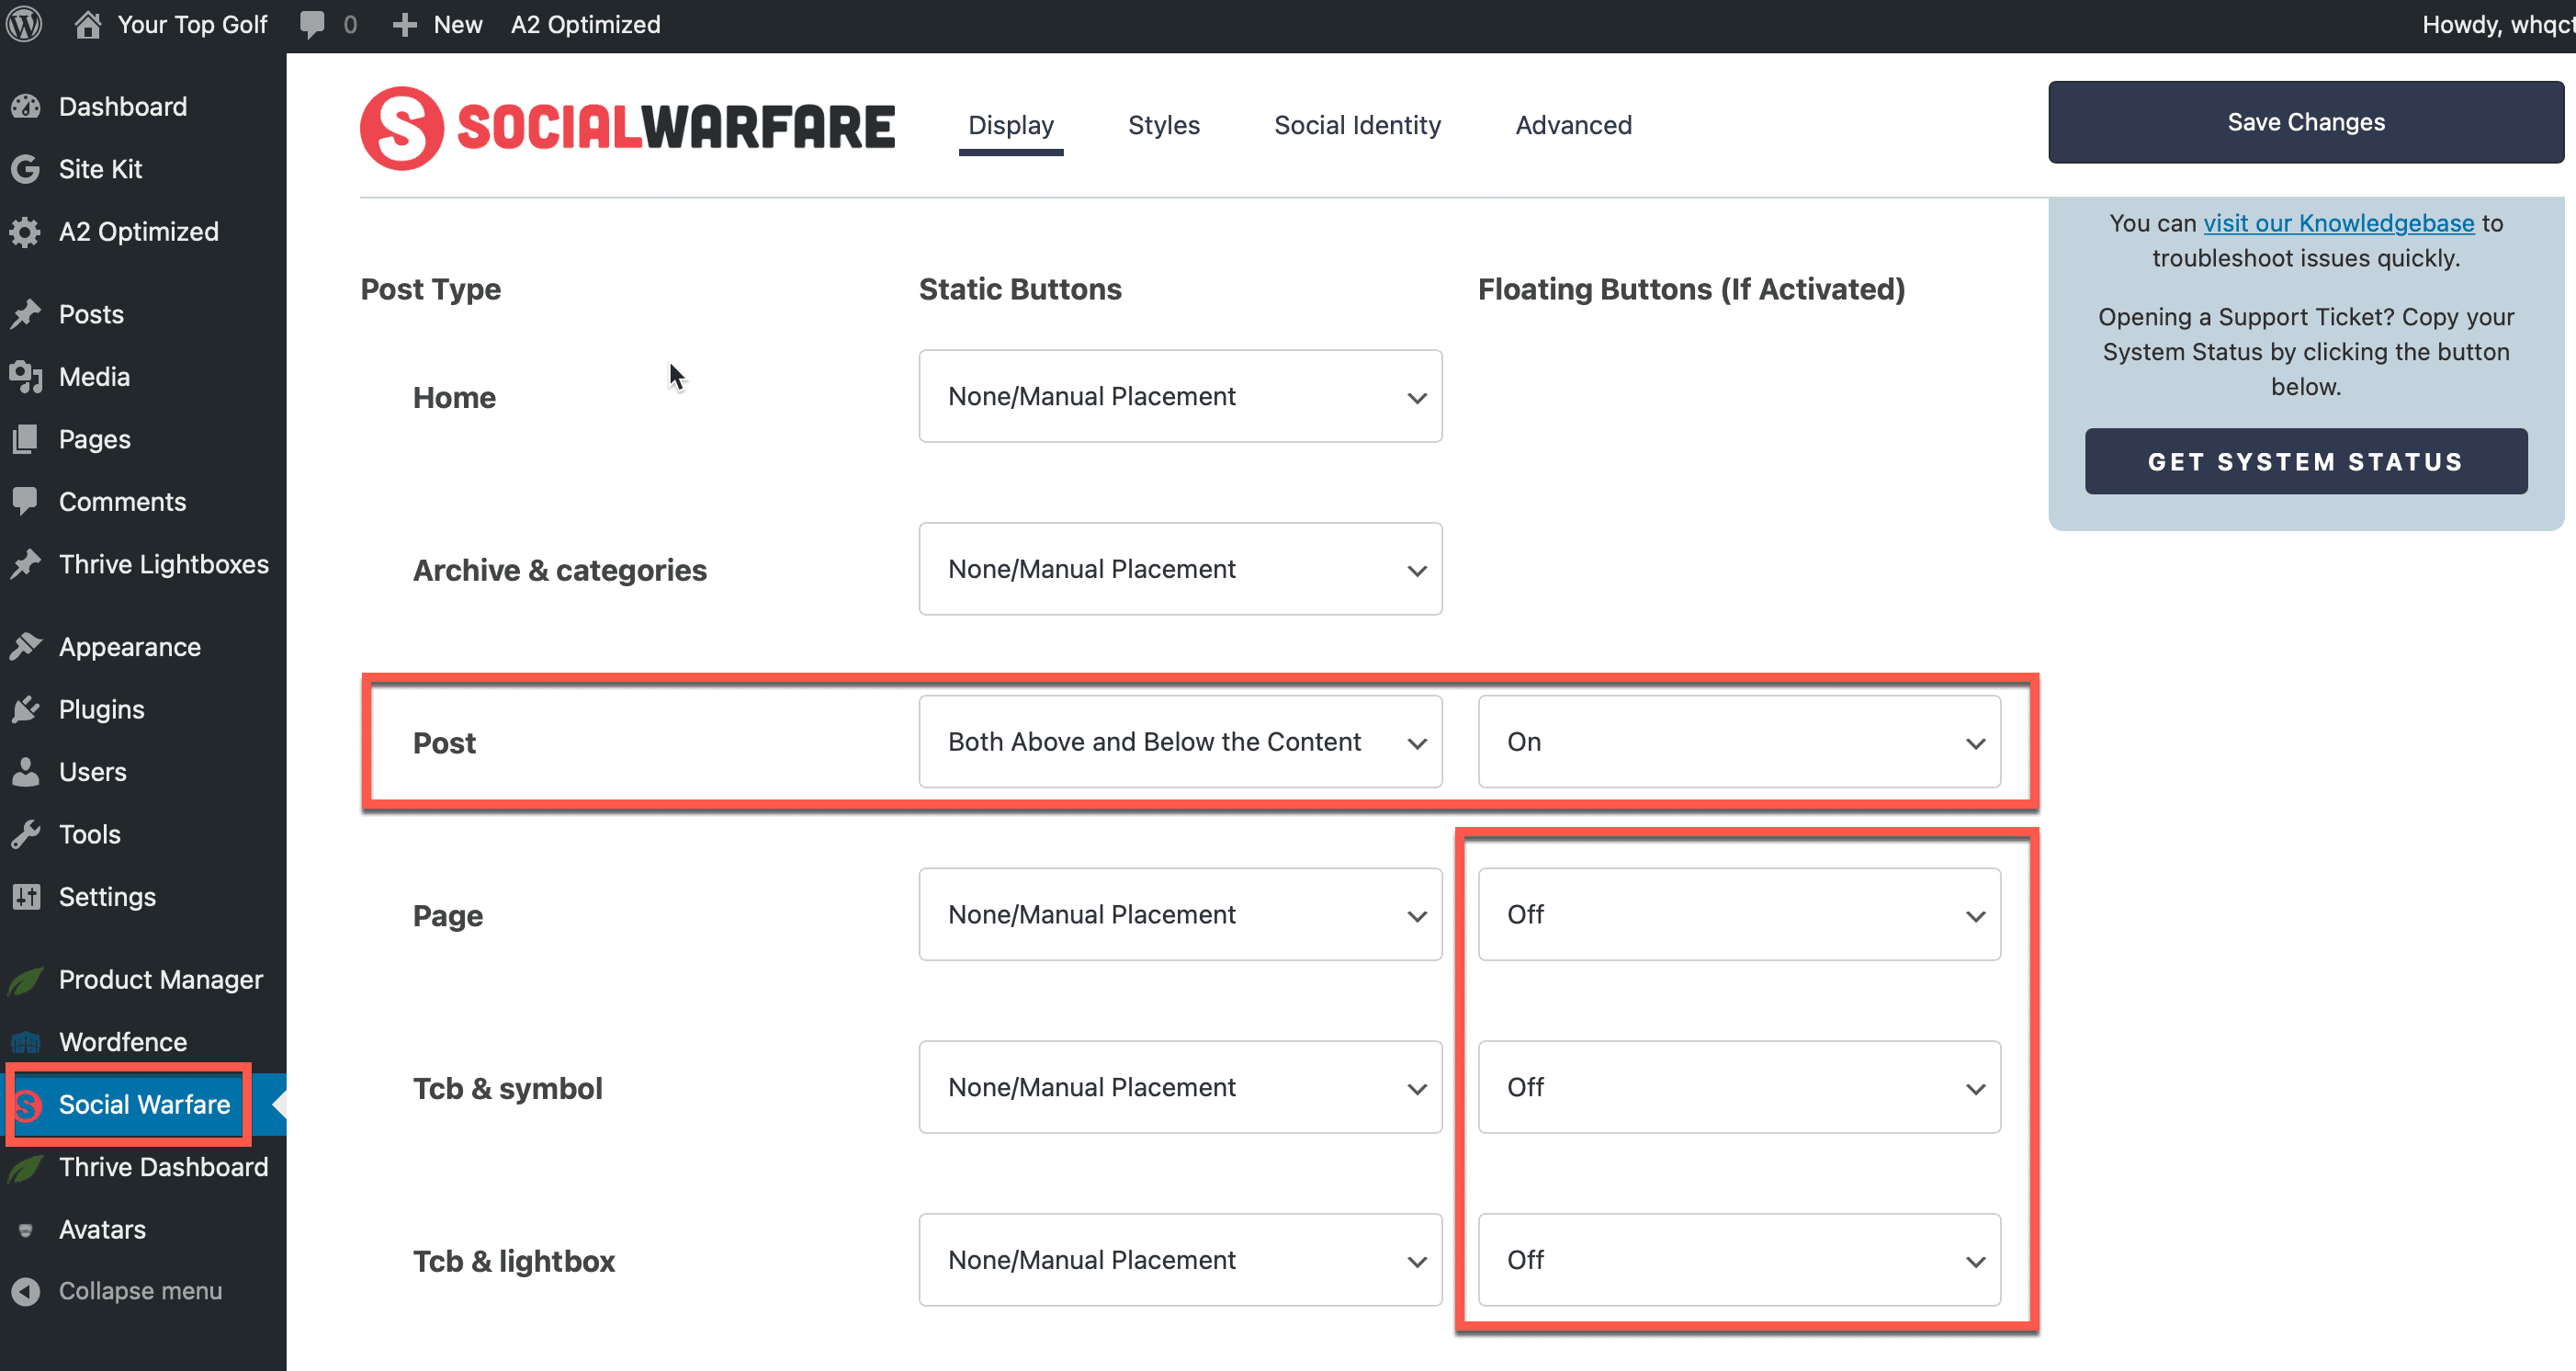
After installing and activating the plugin, click on Social Warfare in the sidebar.
Update the settings as shown below so that the share buttons appear above and below the content on your posts.
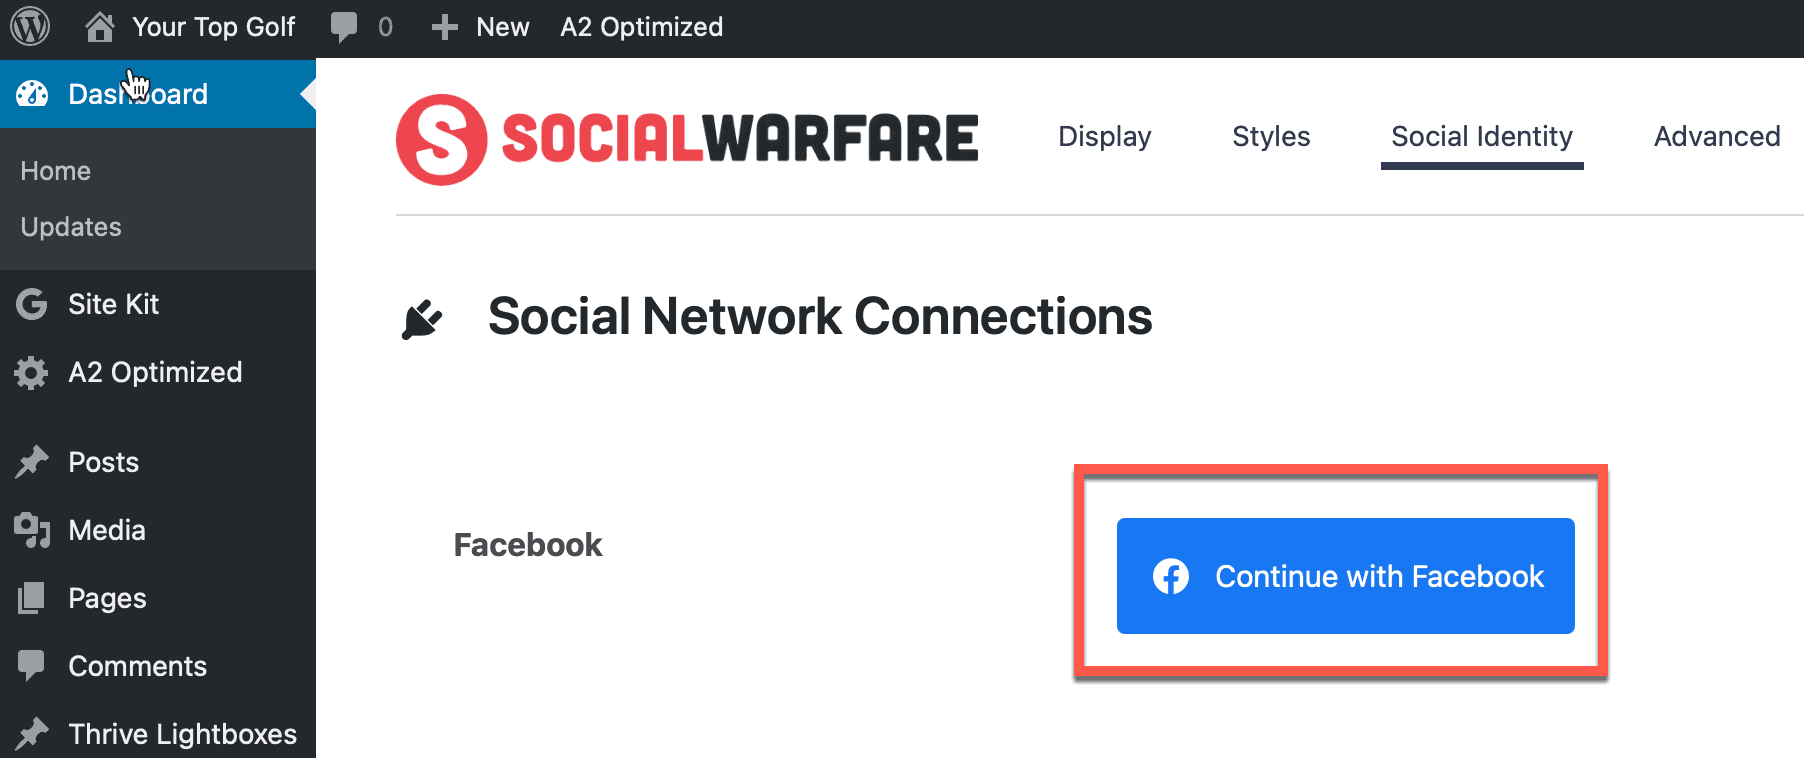
Lastly, click on the ‘Social Identity’ menu item and click the ‘Connect with Facebook’. This will allow you to see all of the share information for your posts.
When you’ve finished, click the ‘Save Changes’ button.
When you go back to your site you should now see the sharing buttons above and below your post content as shown below.

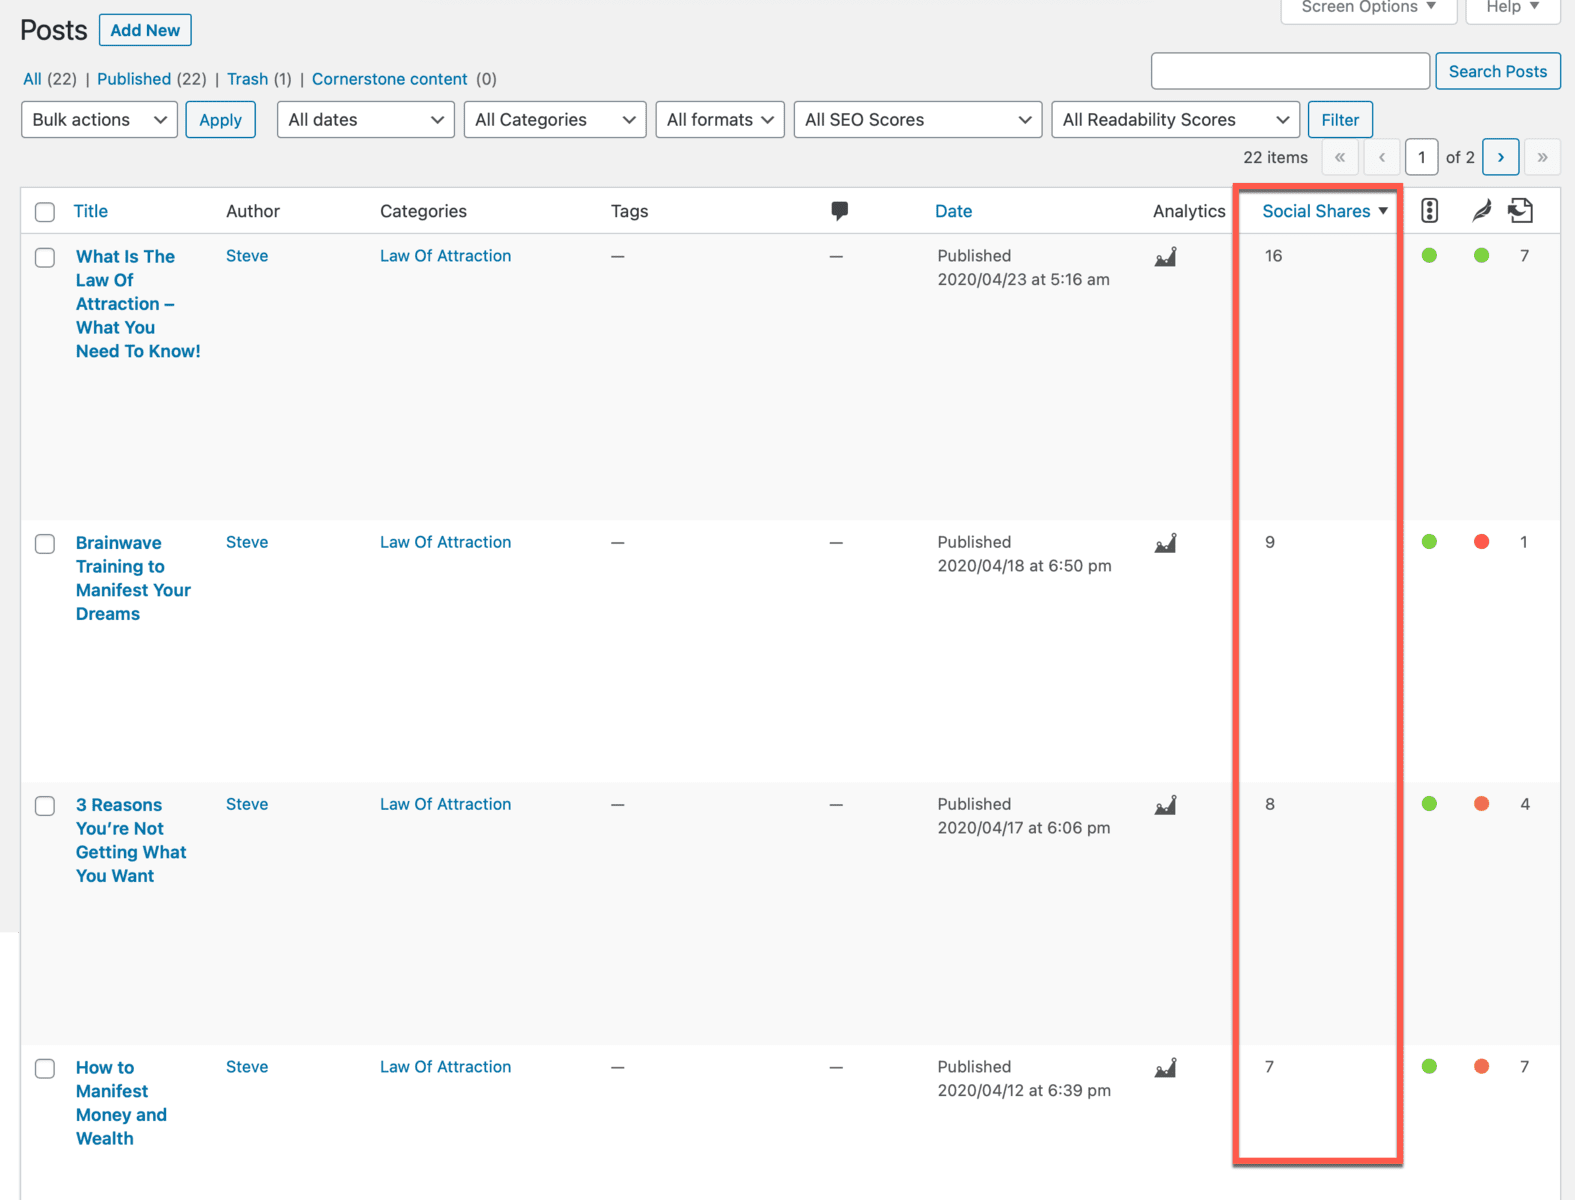
When you go to view all of your posts, you will also notice that you now have a ‘Social Shares’ column where you can track how many shares each post is getting.
In order to track visitors from Google, Facebook and many other traffic sources you will need to add little bits of code to your site. This is one of the best WordPress plugins to help you do that!
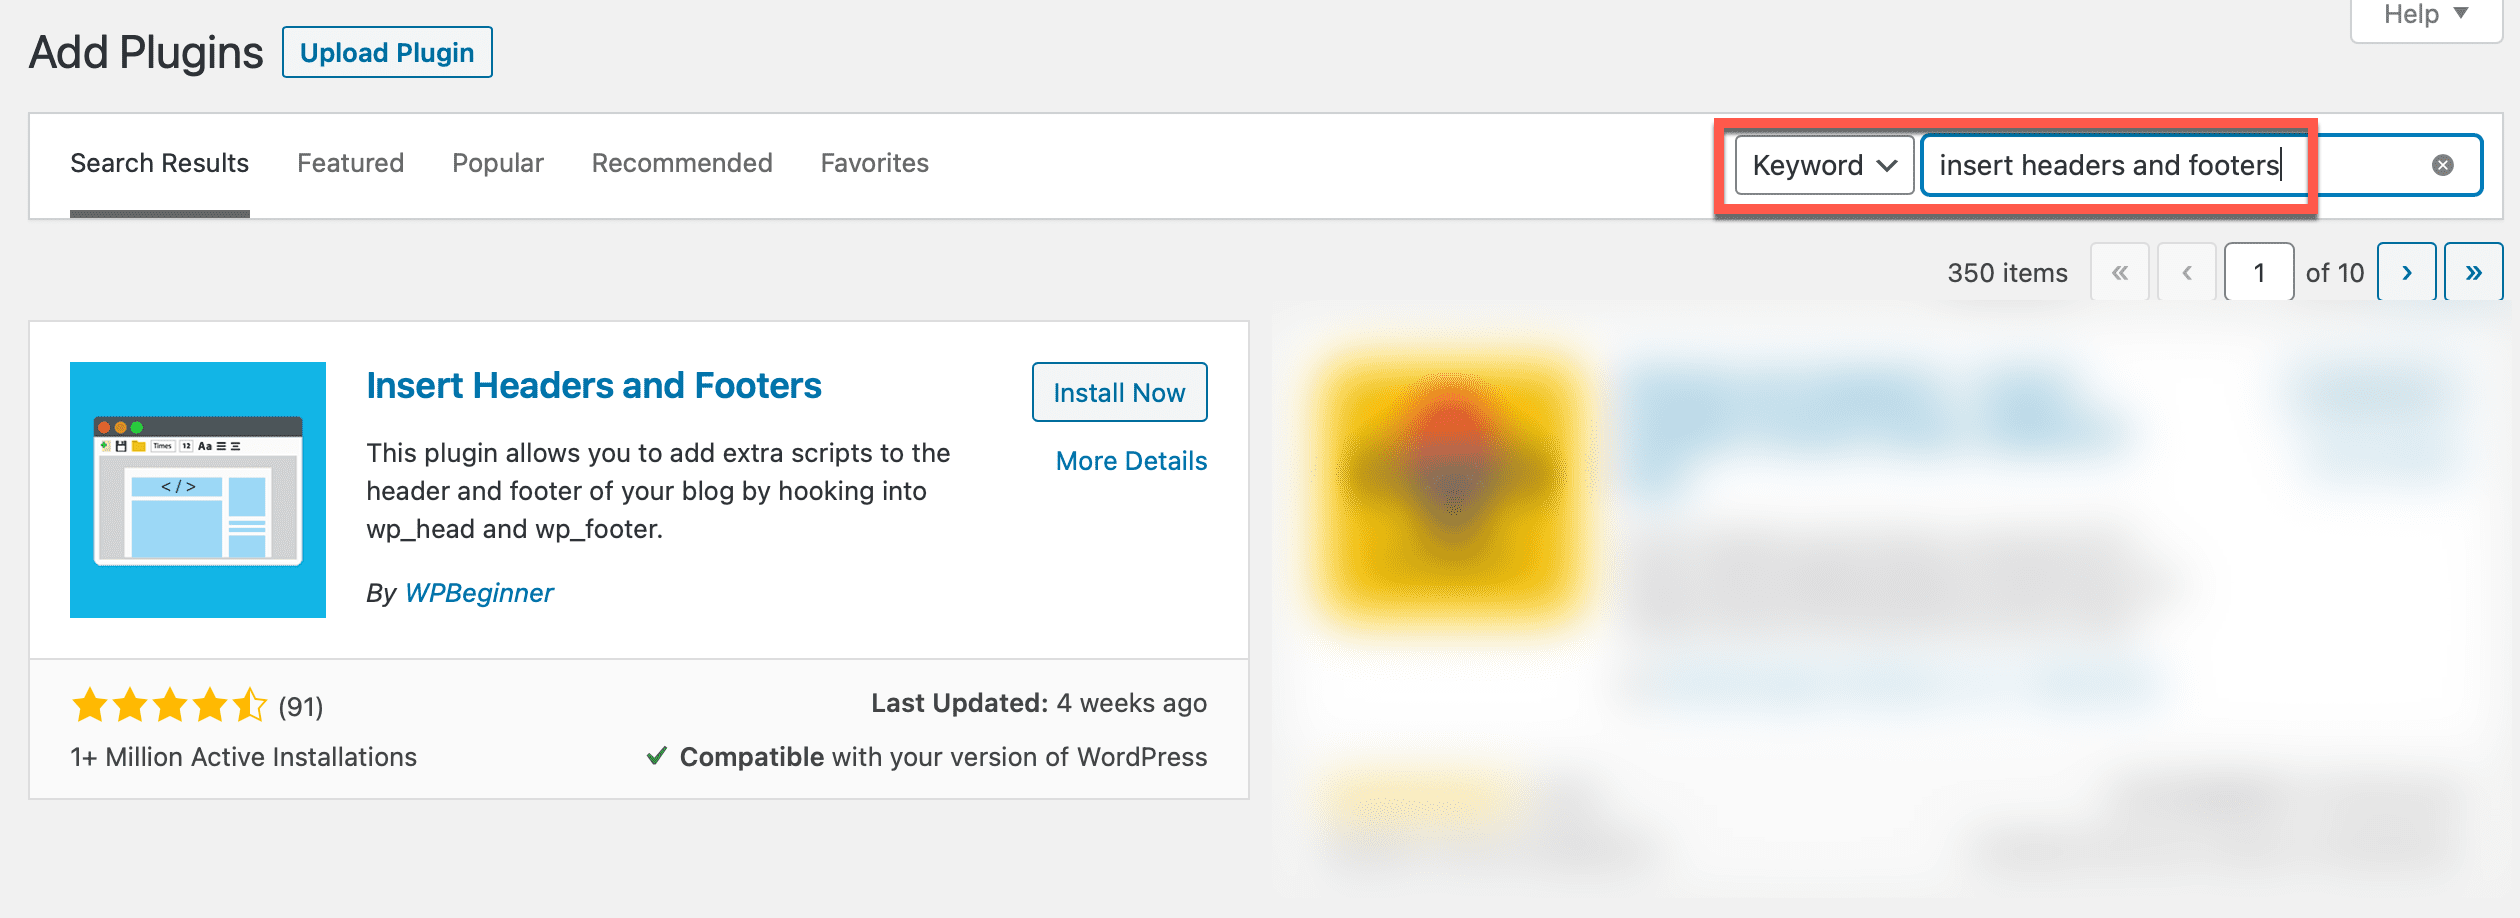
To install it, go to plugins> add new and type ‘insert headers and footers’ into the keyword search box.
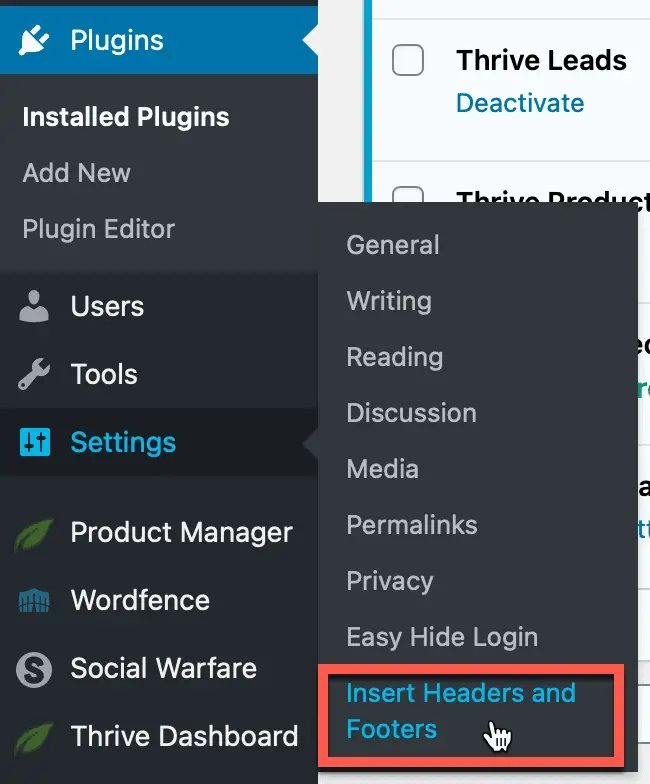
Once you have installed and activated the plugin, hover over ‘Settings’ in the left hand menu and click on ‘Insert Headers and Footers’
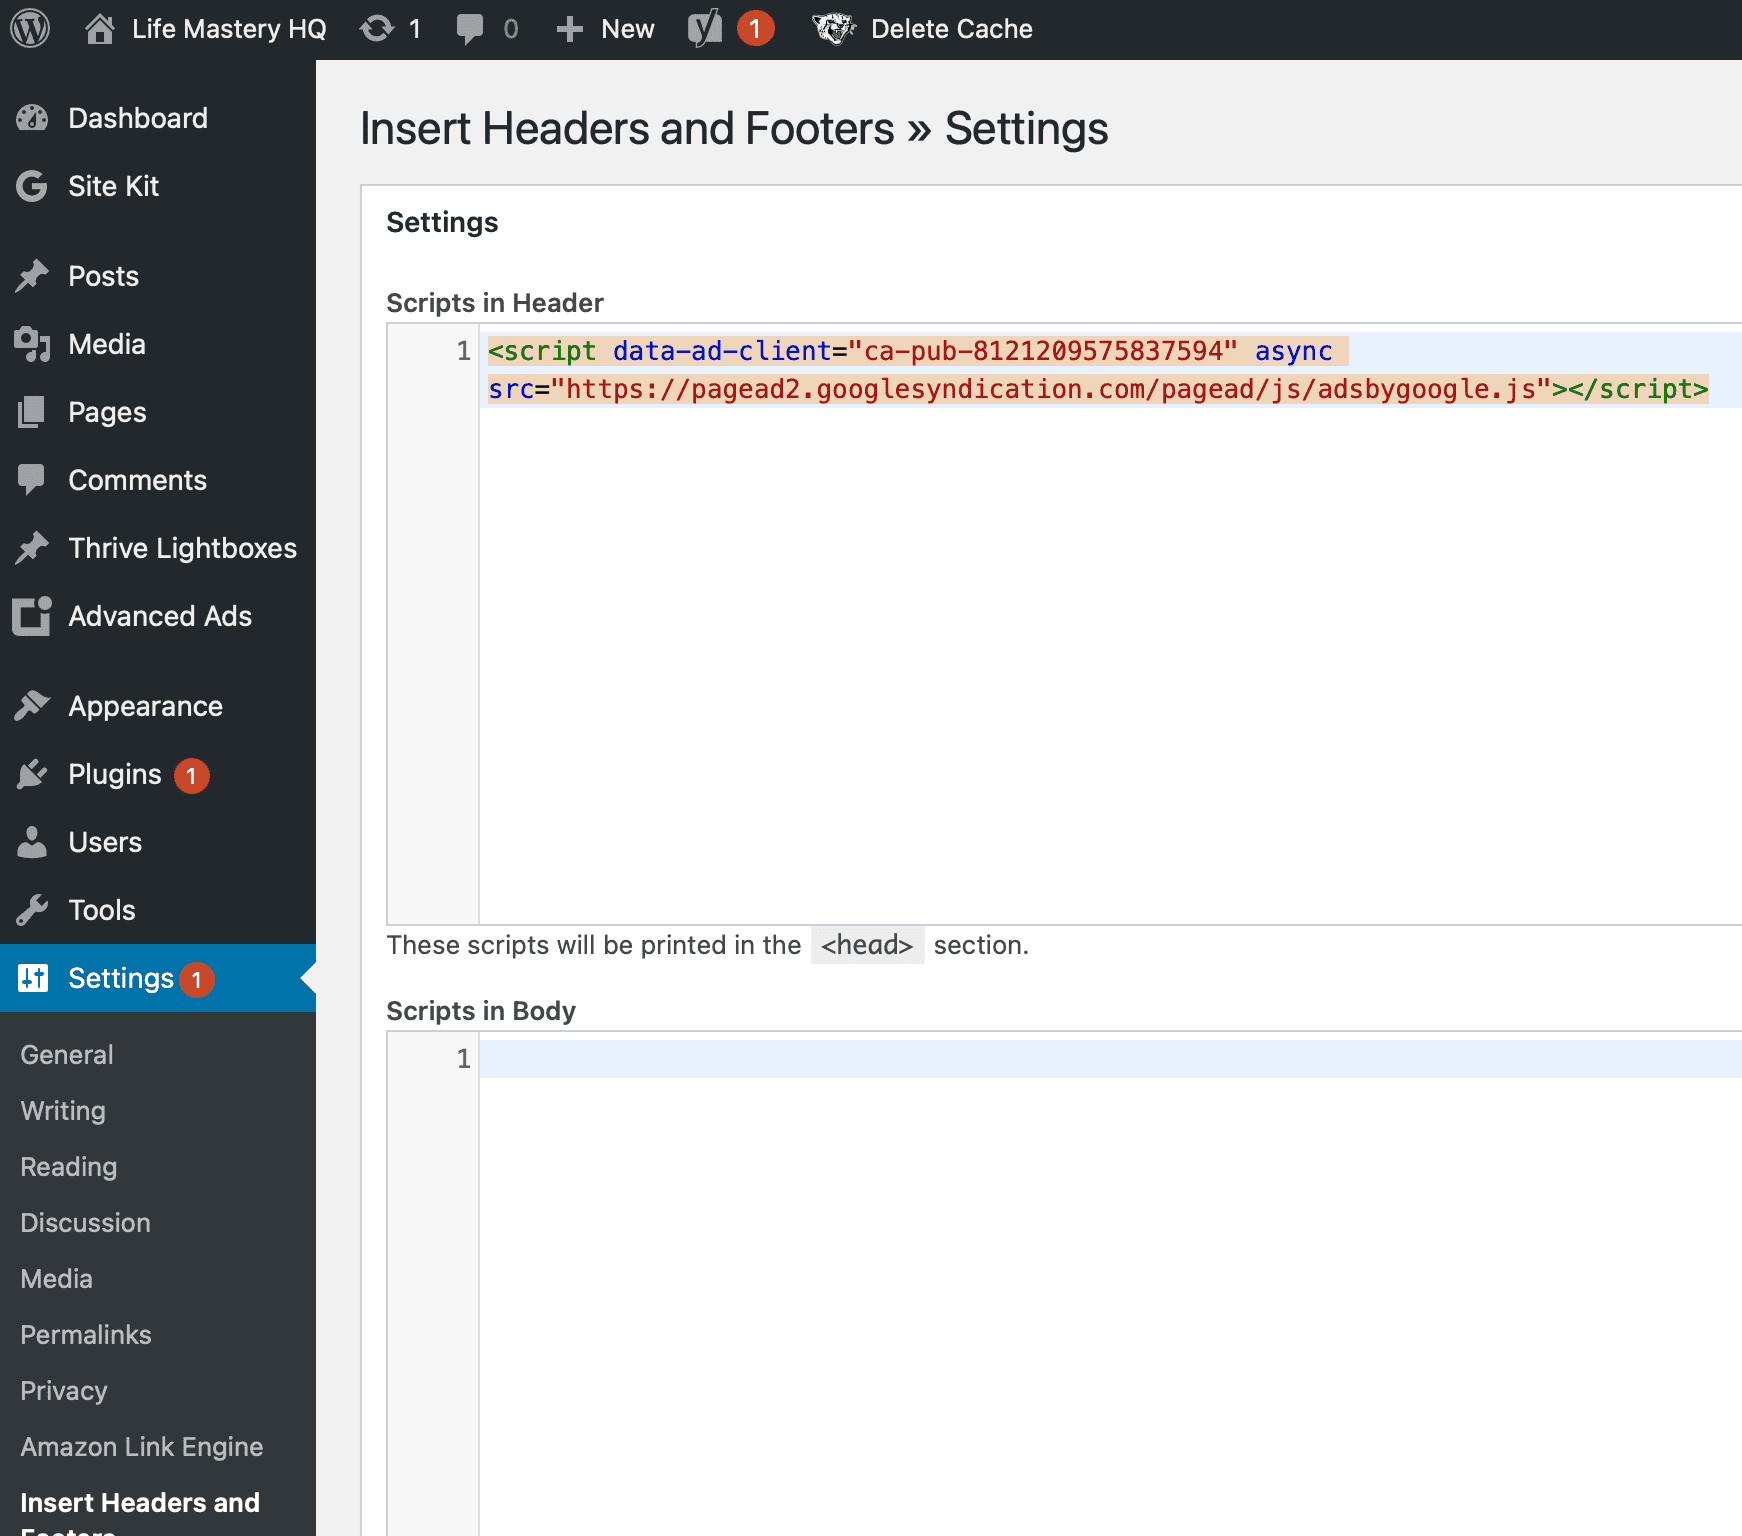
You should see script boxes as shown below. This will allow you to easily add appropriate tracking and other scripts site-wide for Facebook, Google and various others.
Google Site Kit
It’s very important that you get information about your visitors. The best WordPress plugin to use for this is Google’s own analytics plugin called Site Kit.
Before installing this, ensure that you have a Google account and that you have setup Google Analytics. If you haven’t done that yet, read our guide here.
To install Site Kit go to plugins > new and type in ‘Site Kit’ in the search box.

Once you’ve installed it , click on Activate.
Before continuing, make sure you are logged into your WordPress site with your administrator account and logged into your Google account.
Once Site Kit is installed and activated you will see the following notification at the top of the plugins screen. Click ‘Start Setup’

Next Google will want to verify that you are the owner of the site. They do this by placing a small amount of code in your site. Make sure you are logged into your WordPress site as an administrator and then click the ‘Proceed’ button.

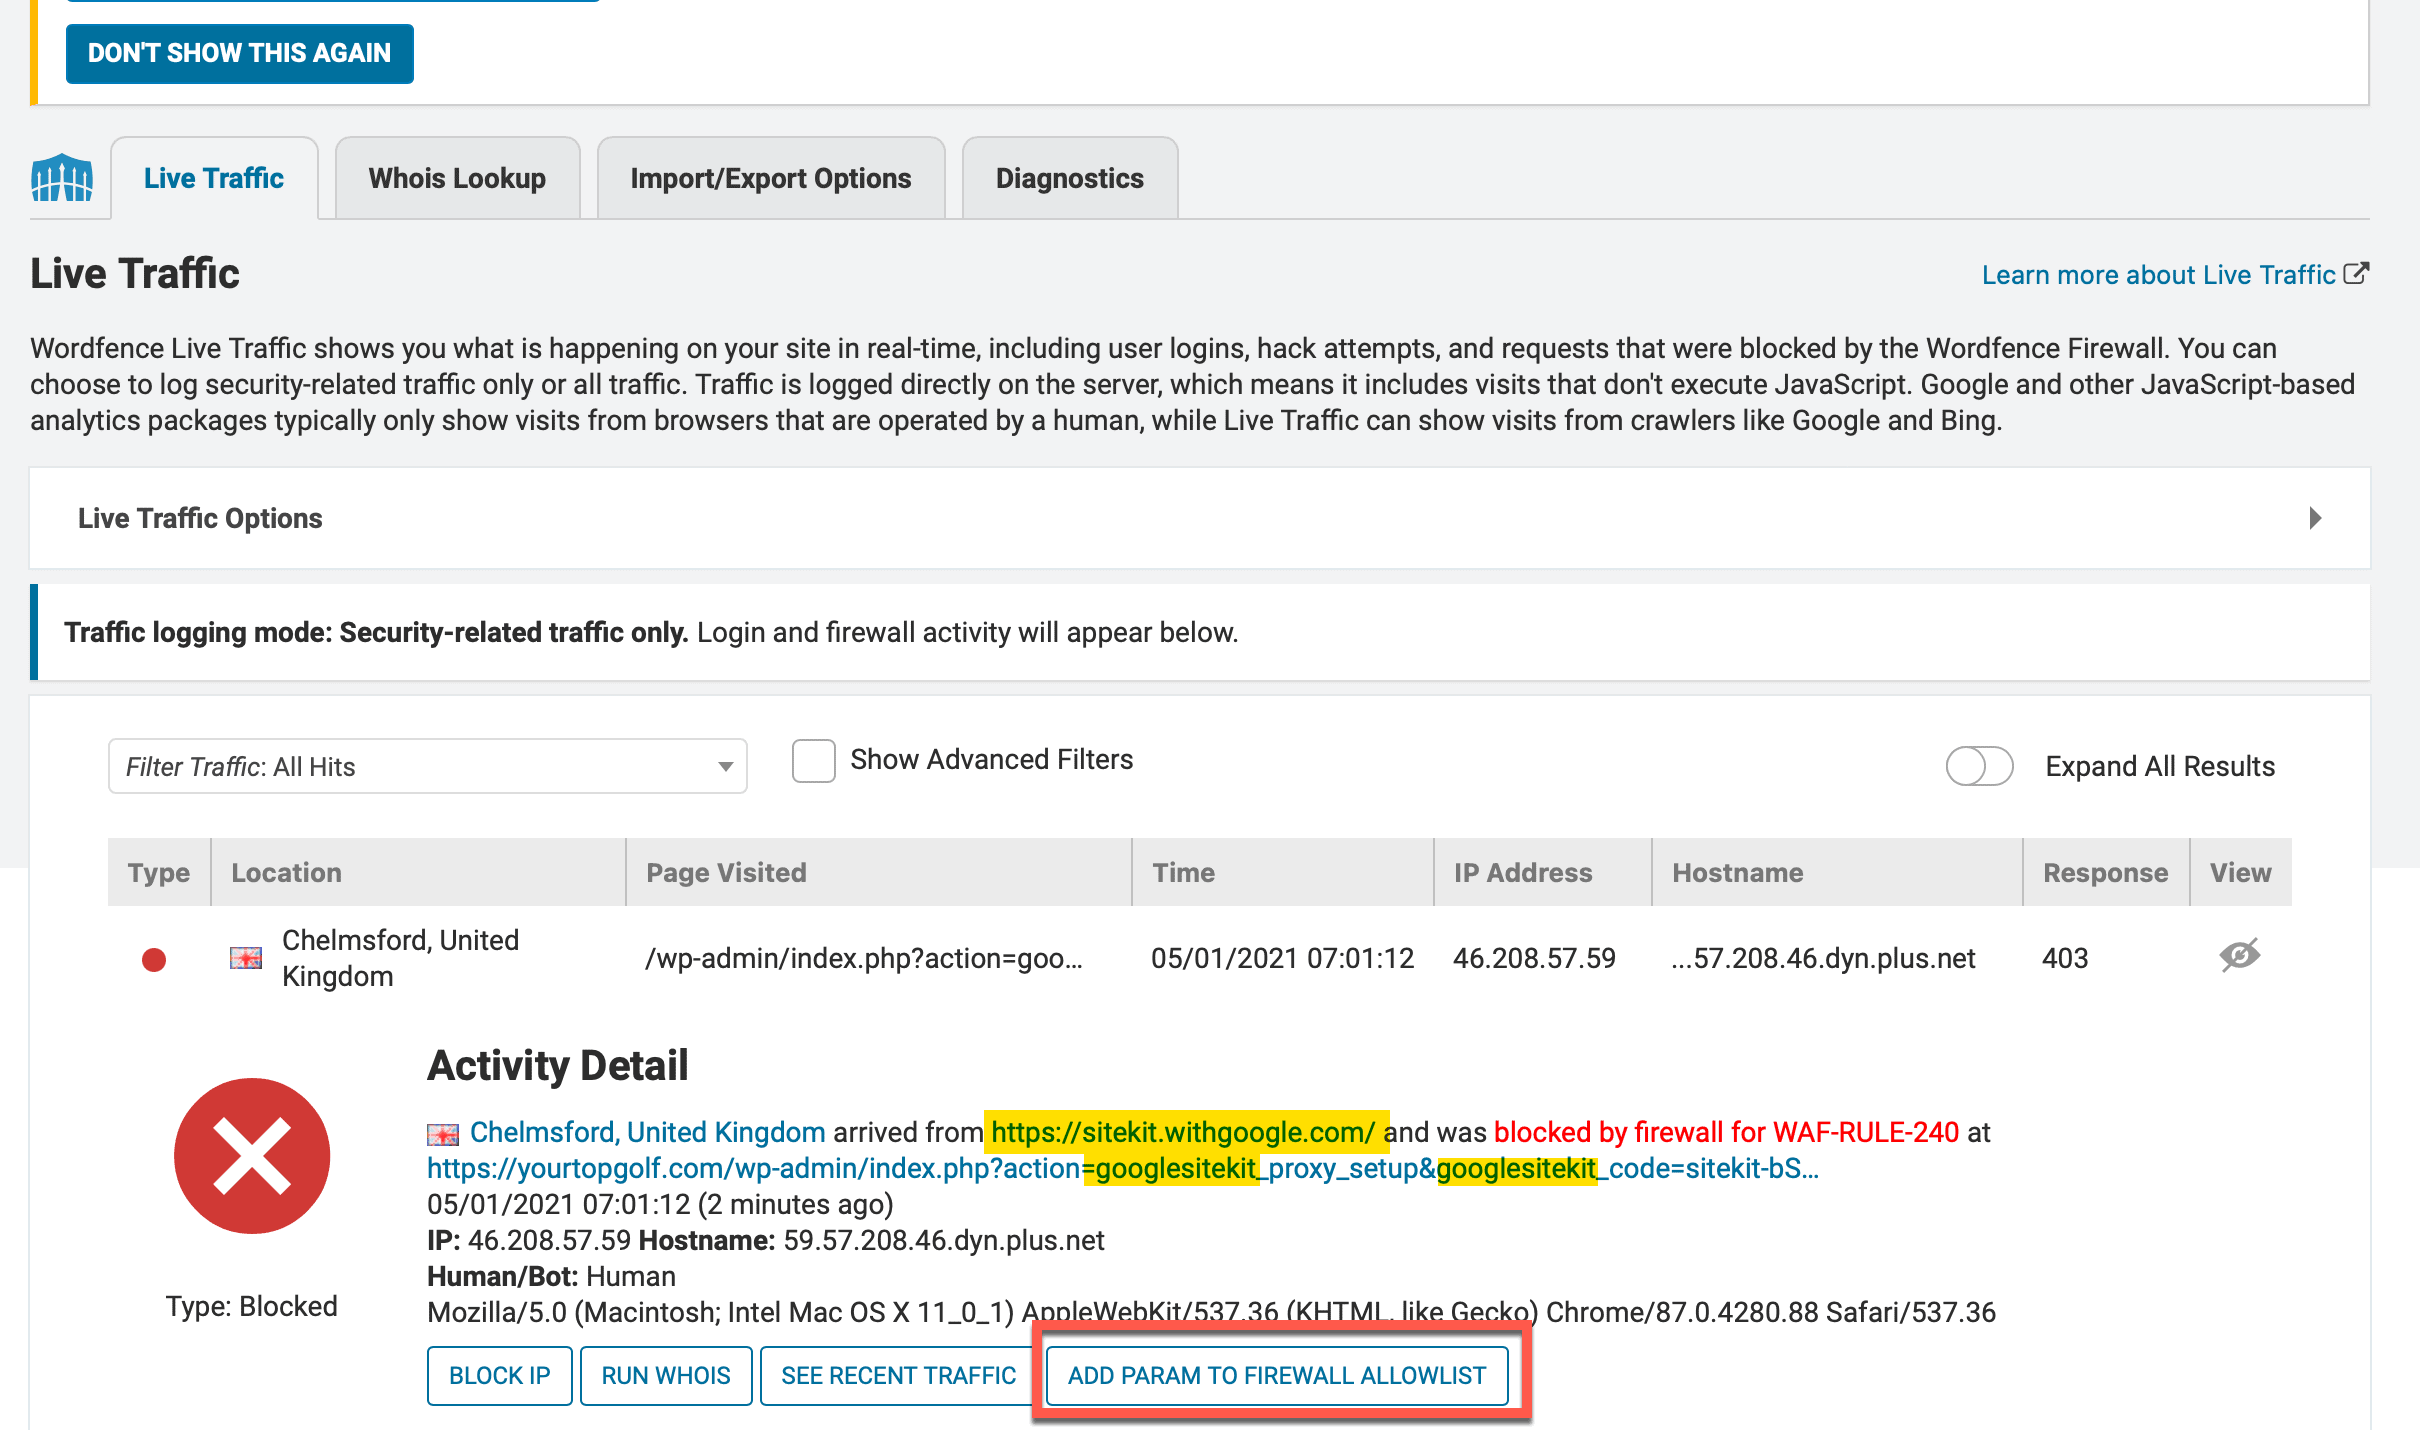
If you have WordFence installed you may get an error showing that the action was blocked. If that happens go to WordFence> Tools and look for the latest blocked action (see example below).
Check that the action is from Google Site Kit (see yellow highlighted sections) and click the ‘Add Param To Firewall Allowlist’ button.
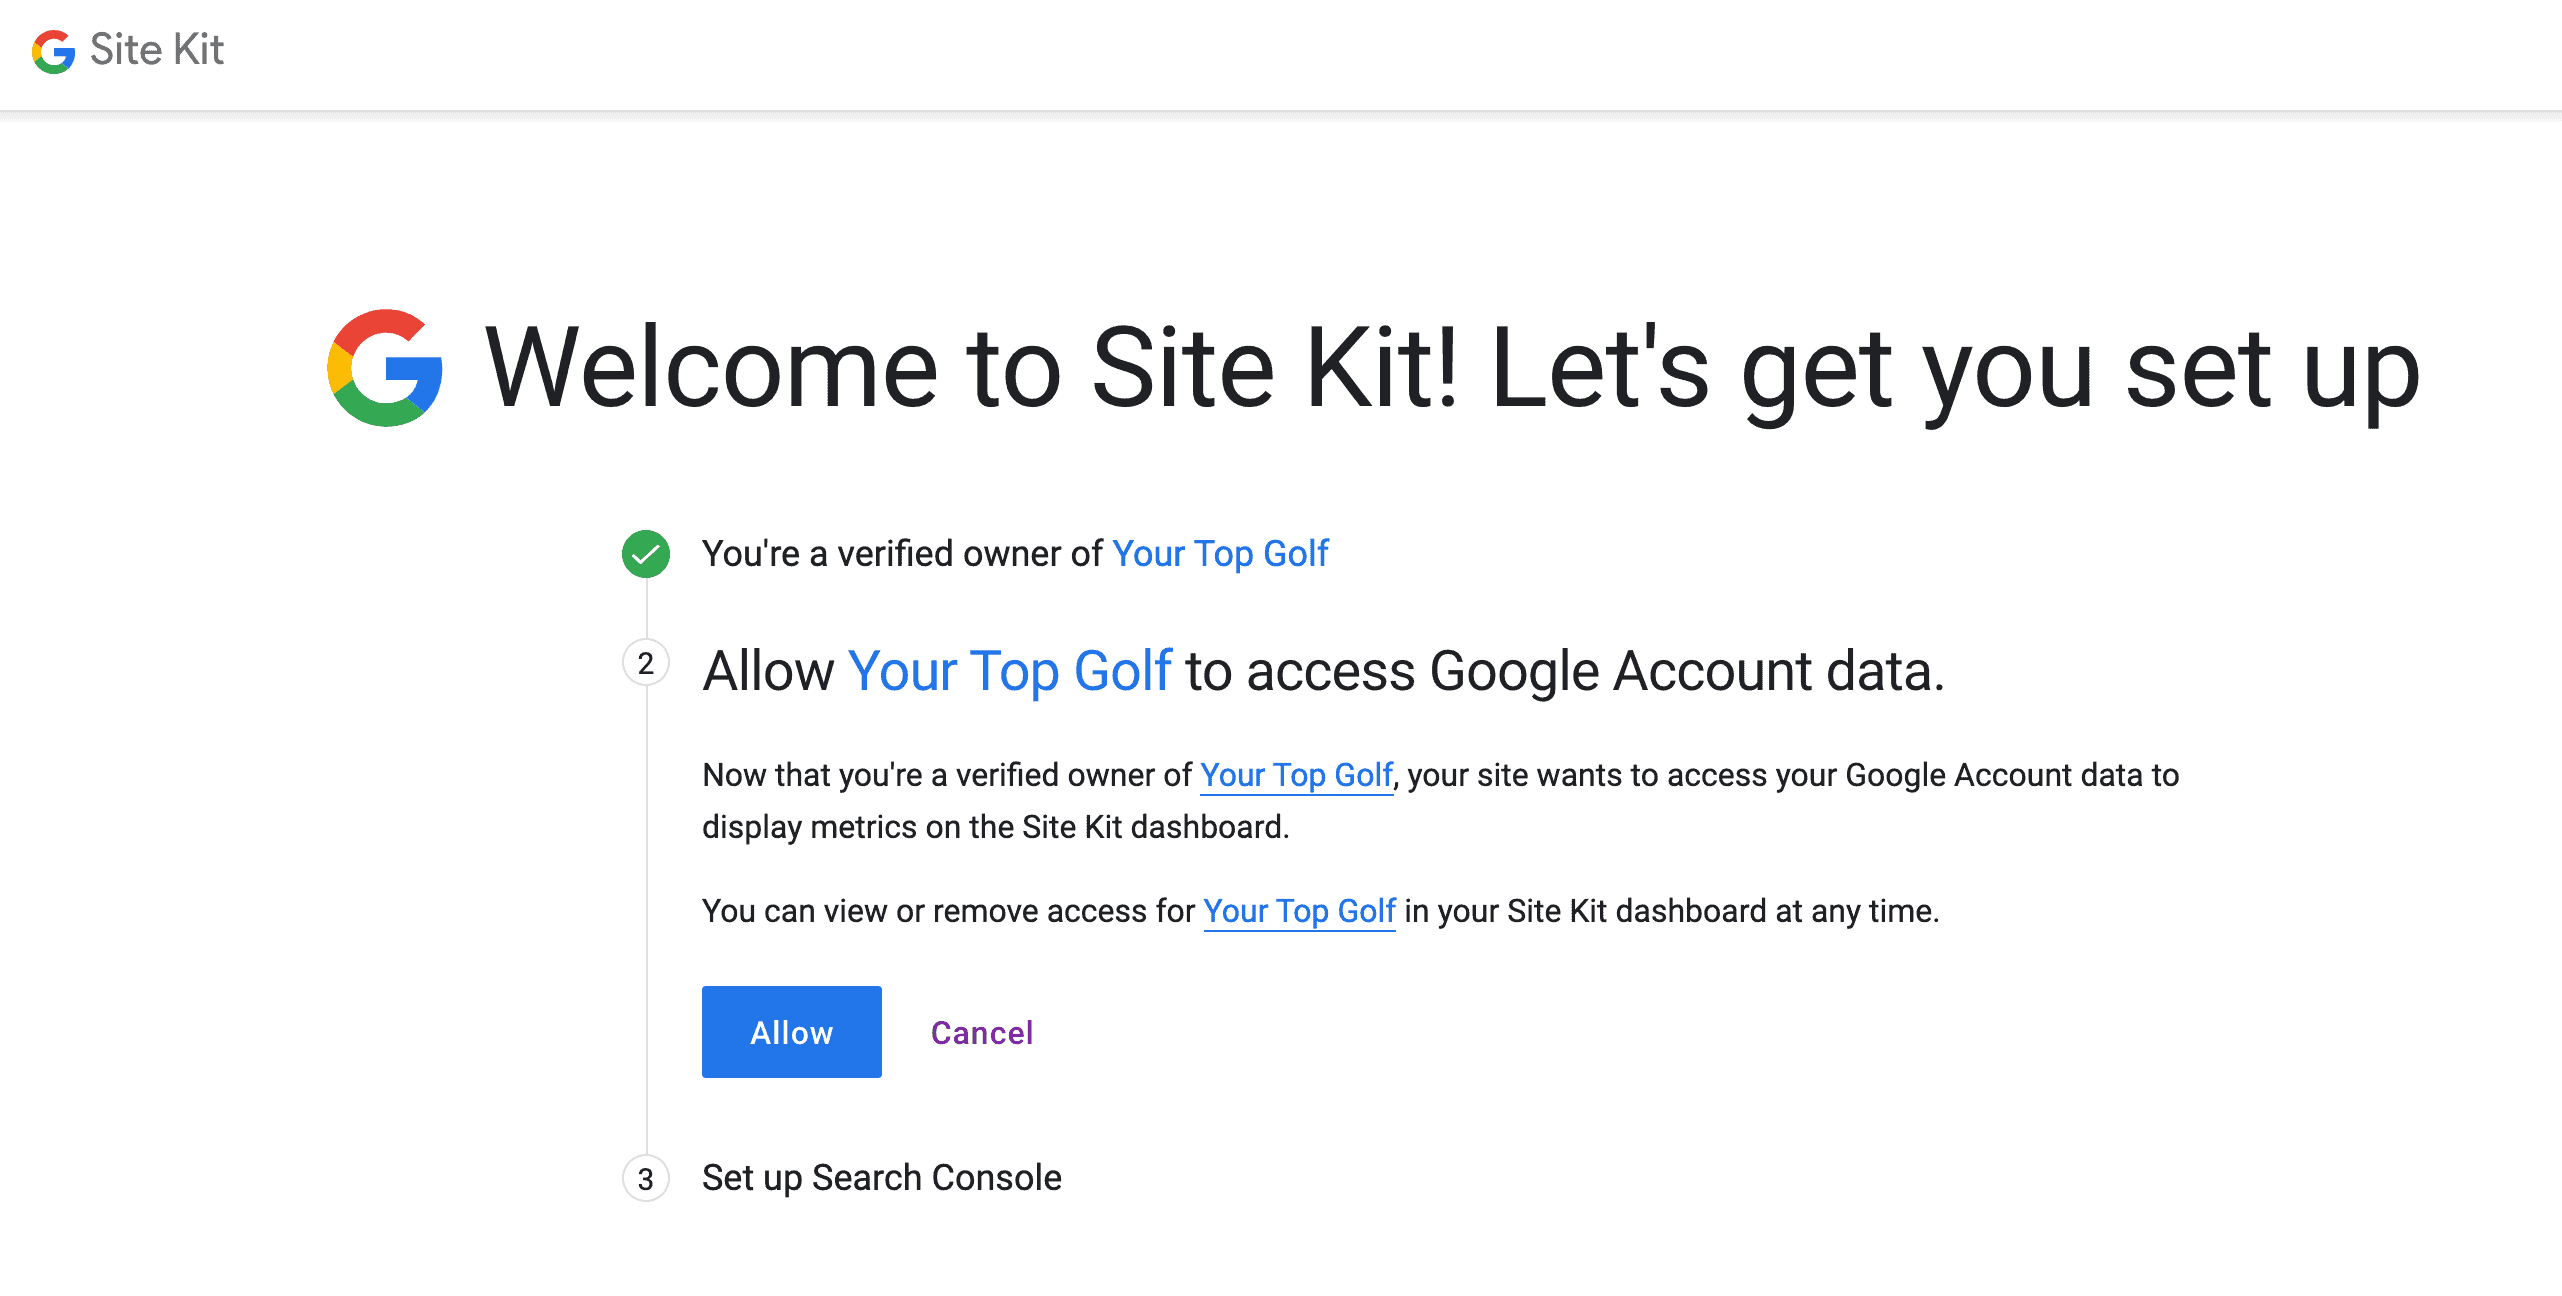
When the verification is successful you will see the following.
To continue click the ‘Allow’ button to give access to your Google Account data.
Next click the ‘Add Site’ button to setup the Google search console.

When the operation is complete you will see the following congratulations message.

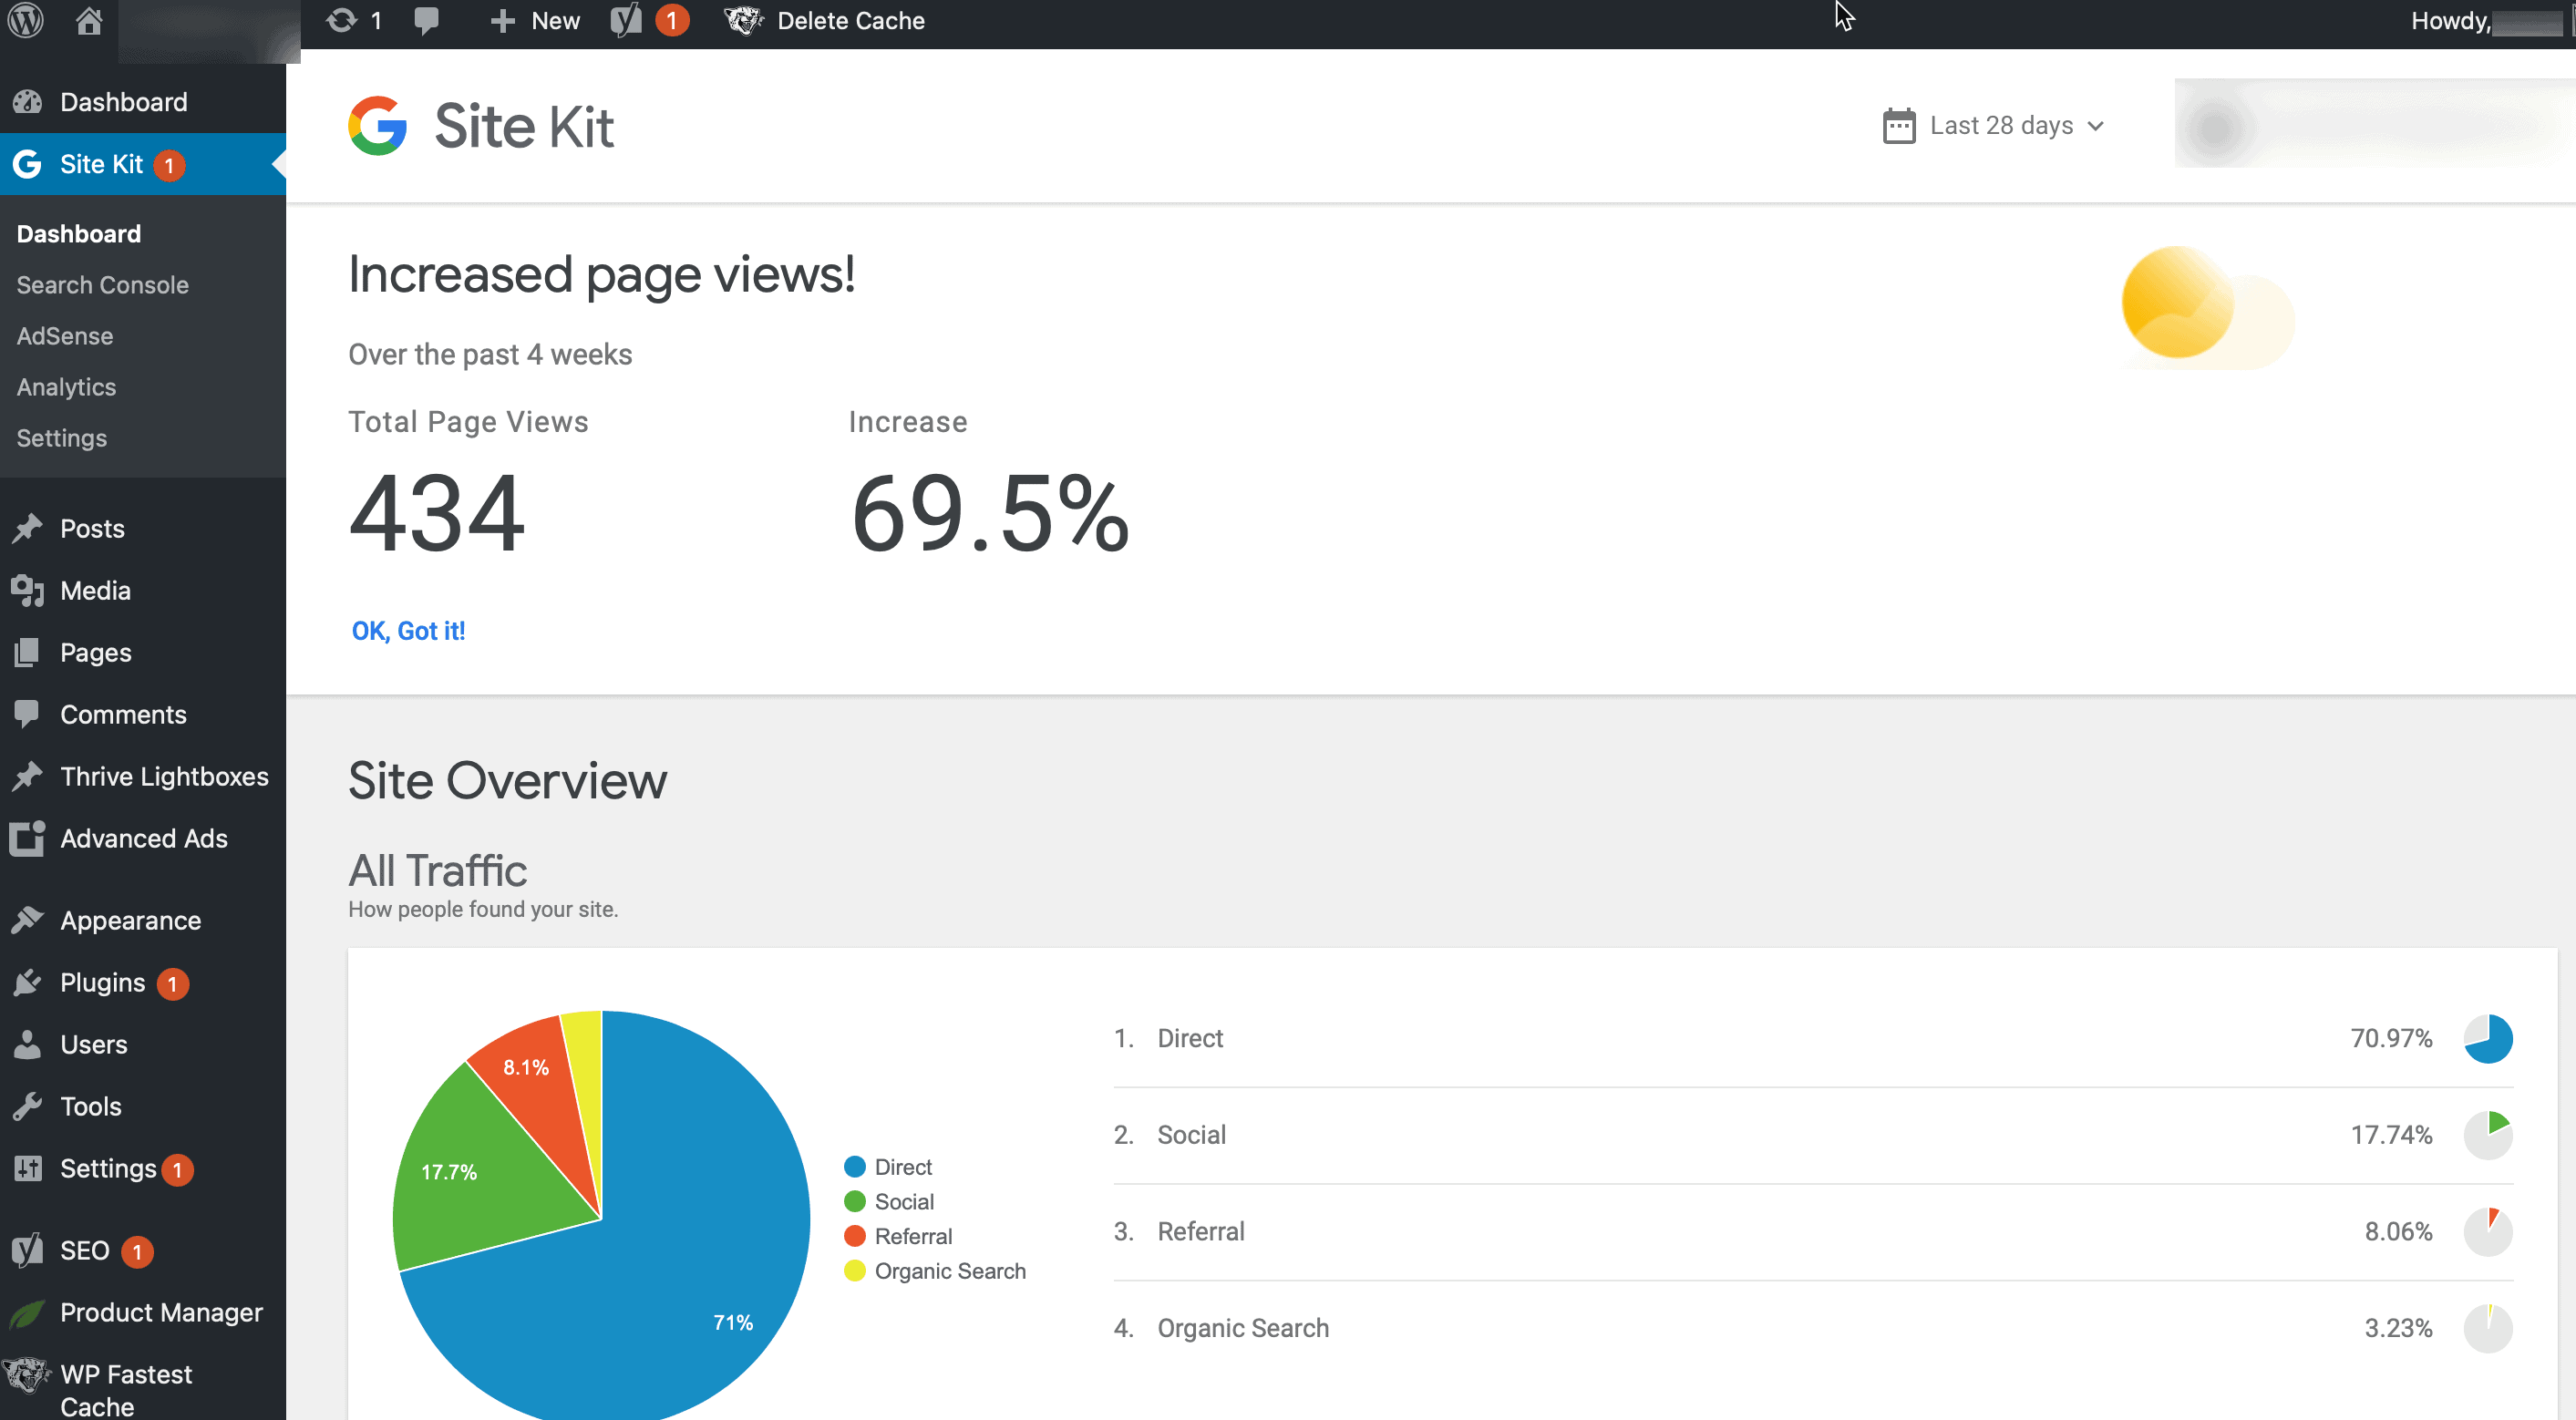
Once the plugin is setup you will see ‘Site Kit’ in the left hand menu and once it starts to gather data you should start to see some useful numbers in the Site Kit dashboard.
WP User Avatar
WP User Avatar allows you to add a custom picture for your author bio. Without this, WordPress automatically picks up your picture from Gravatar or simply shows a grey placeholder image.
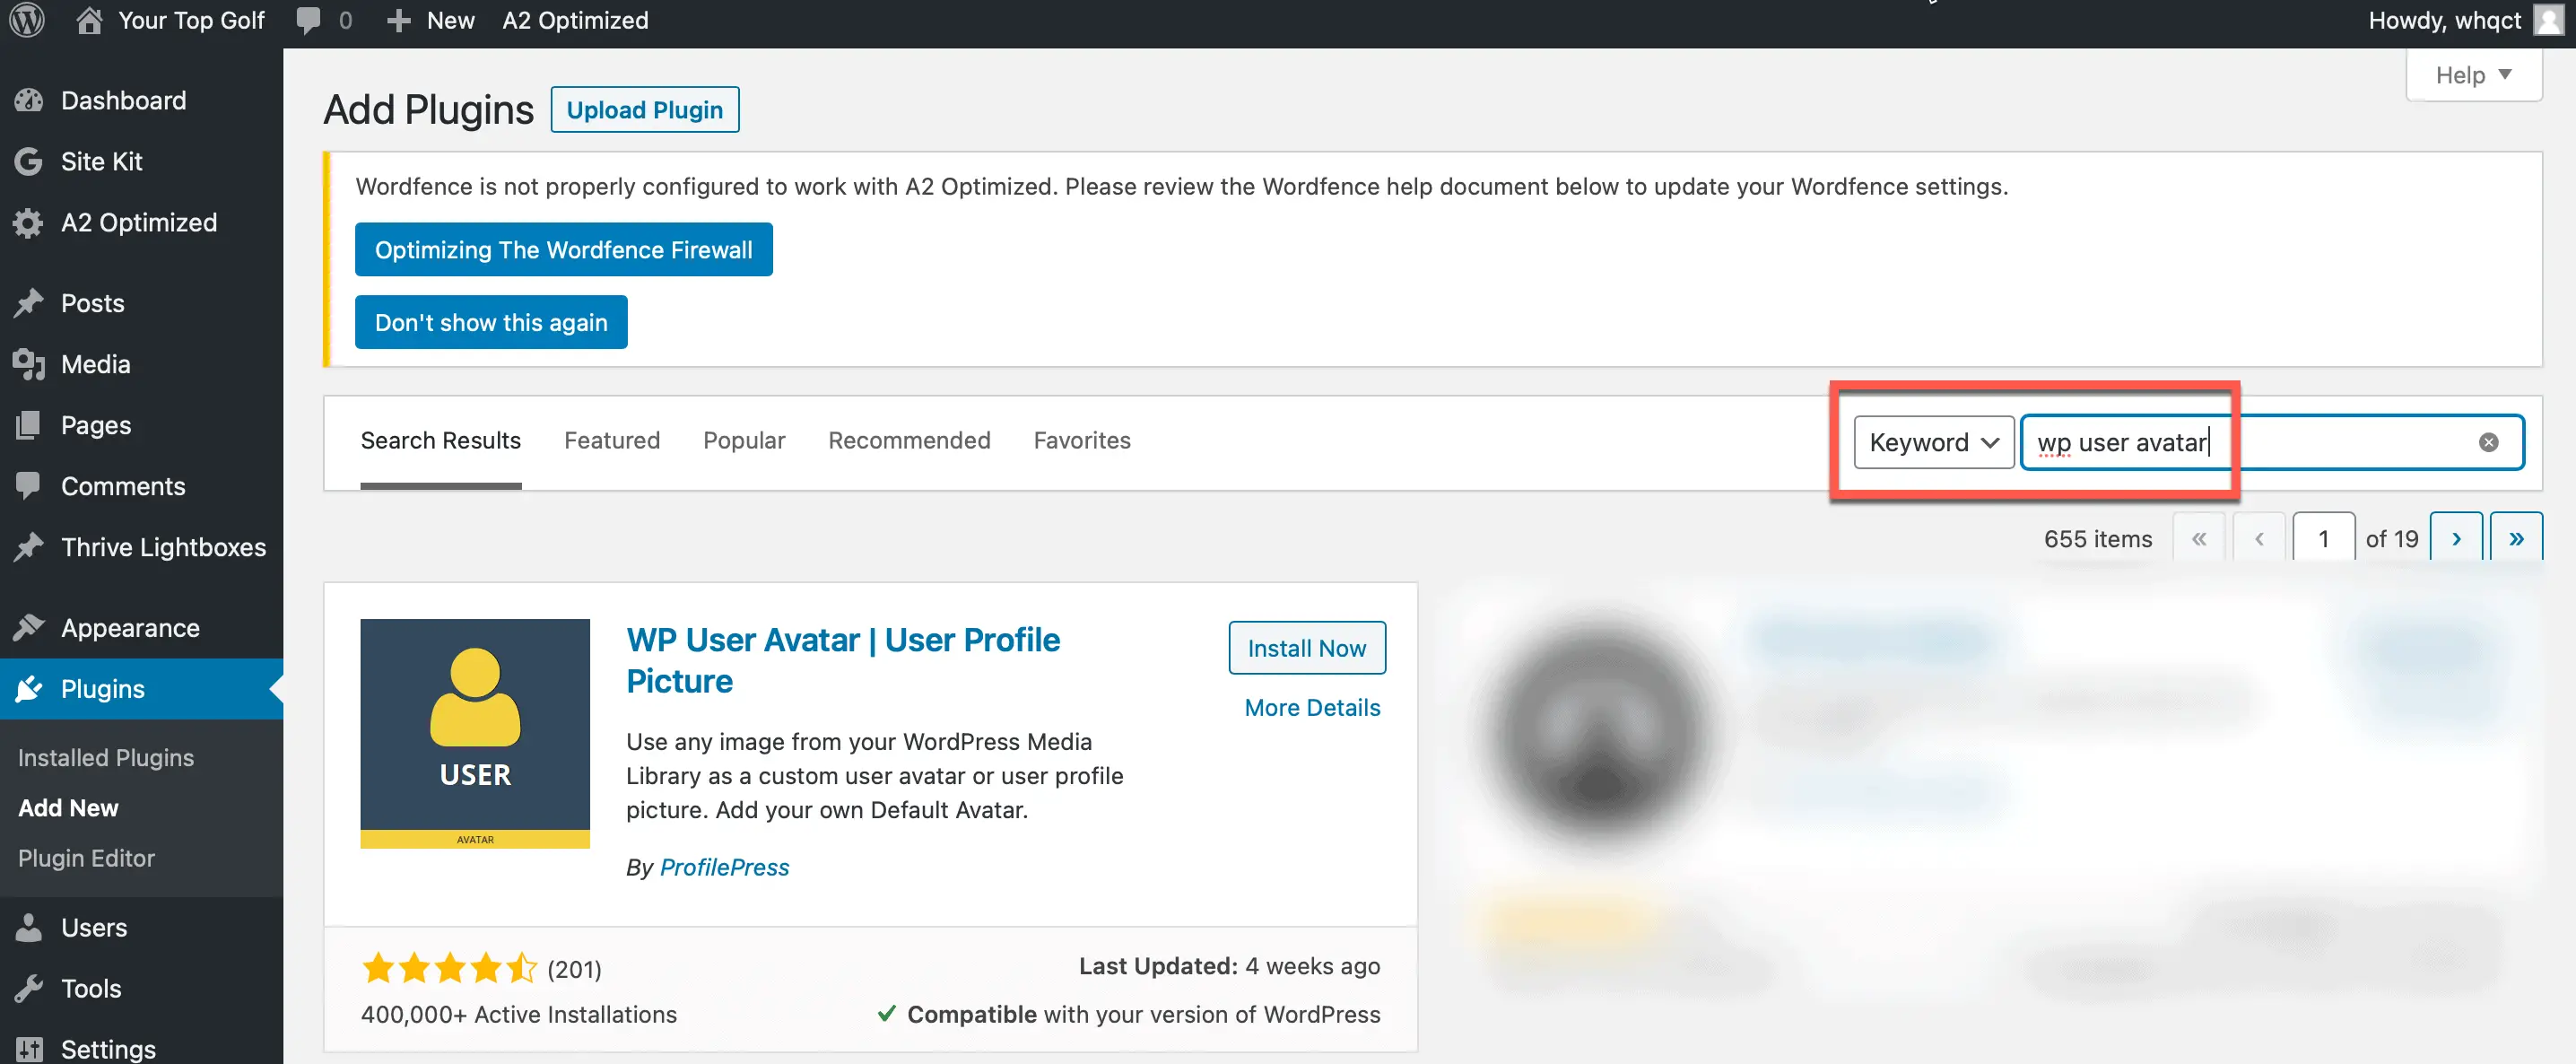
To install go to plugins > add new and search for ‘WP user avatar’
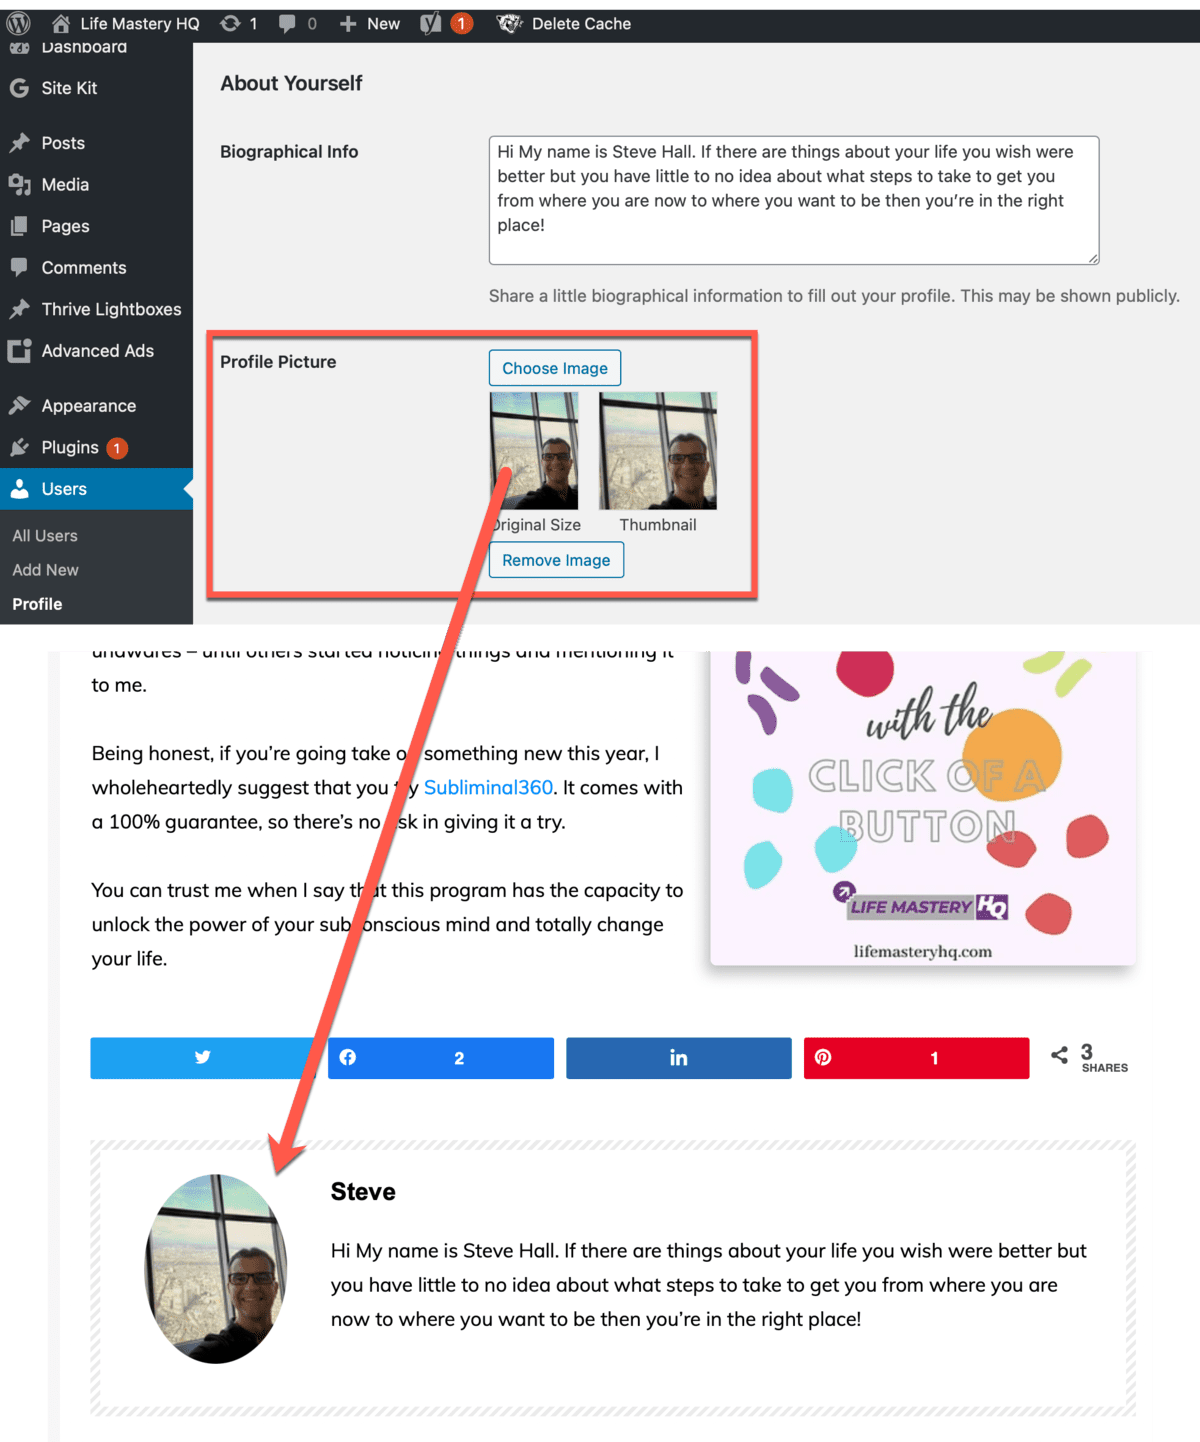
Once installed, you will be able to add custom images to any user profile. I use this to update my author bio so that it shows the image below all of my blog posts.
Classic Editor
Although I don’t use the built-in WordPress editor to create blog posts (I use Thrive Themes Architect), I do find it easier to edit post settings with the Classic Editor as opposed to the newer Gutenburg editor.
To install go to plugins > add new and search for ‘classic editor’ in the keyword search box.

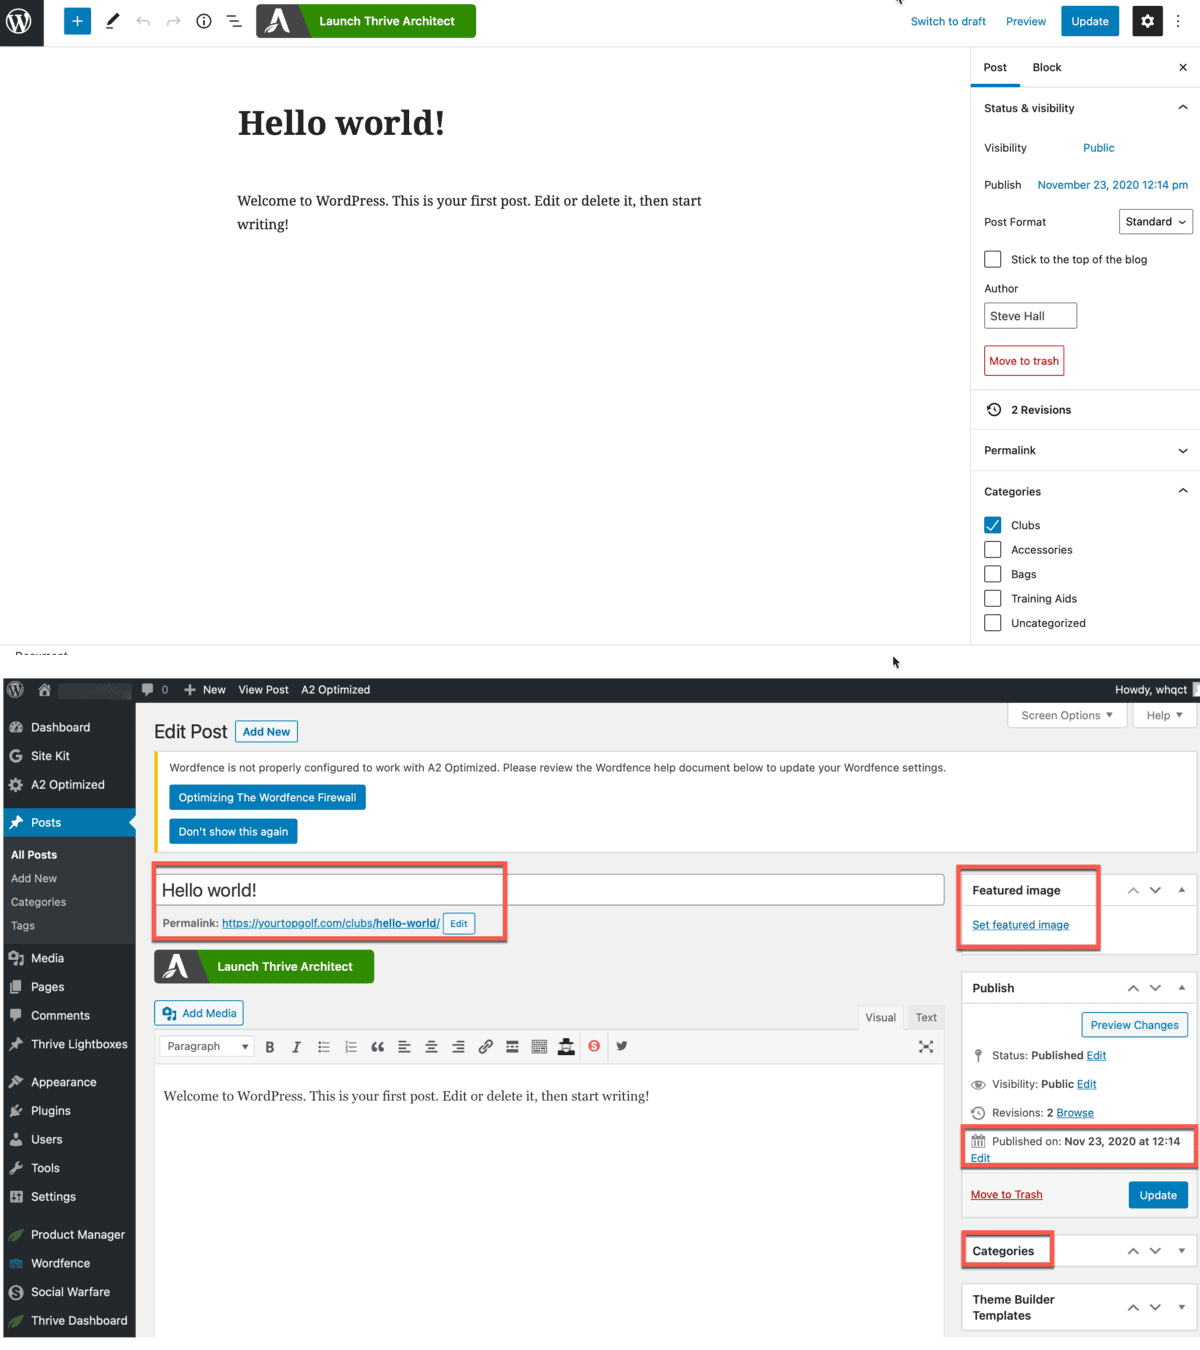
Once installed and activated the editor will automatically change to the classic editor. See the difference below. You can see that the classic editor makes it easier to do such things as edit the post name and URL and add a featured image.
